
In the eyes of many drone owners, the DJI Air 3 is a strong, overall upgrade to the highly popular DJI Air 2S.

Like the Air 2S, the Air 3 has a great cost-to-feature ratio. You get a lot of new features and technology for the money spent.
With the addition of the first-ever omnidirectional obstacle avoidance system implemented in a DJI Air drone, the Air 3 is even more accessible to beginners and safer to fly than previously released drones under the Air badge.
This means that more and more people continue to purchase the Air 3, and many do so with a keen interest in taking the best photos they can with the Air 3.
This article will serve as a complete guide to DJI Air 3 Photography covering:
- The Exposure Triangle: Aperture, ISO, and Shutter Speed
- White Balance
- RAW vs JPG Image Formats
- Air 3 Still Photography Modes
- Miscellaneous Camera settings
- The Benefits of Photo Editing
Brief Overview
Recently released in 2023, the Air 3 is the highly anticipated upgrade to the popular Air 2S, which was released two years earlier in 2021.
DJI used the two-year gap to put a ton of features and technology into the Air 3. These upgrades make the Air 3 an excellent choice for new pilots and enthusiasts. Those looking to do commercial video work will also enjoy it.
While the Air 3 does have smaller main and secondary cameras than the DJI Air 2S’ 1″ CMOS camera, it does have quite a few major upgrades, some of which are also seen in the more expensive Mavic 3 series.
- Dual-camera system giving videographers superb parallax effects to help tell their story
- Omnidirectional obstacle sensing, which ensures the Air 3 remains aware of its surroundings while in flight.
- OcuSync 4 Video Transmission System for stronger, interference-free video signals, allowing for worry-free flights in urban areas
- Enhanced tracking and added flight modes for solo content creators, solo shooters, and anyone who likes to track subjects
Air 3 Camera
As mentioned earlier, the Air 3 has dual cameras, similar to the original Mavic 3’s setup, although these are a bit smaller at 1/1.3″ sensors, as opposed to the Mavic 3’s 4/3 cameras.
The main camera on the Air 3 is equivalent to 24mm with an f/1.7 aperture, and the tele lens camera is equivalent to 70mm with an f/2.8 aperture. Both of these cameras take the same resolution photos.
The new 70mm camera is perfect for getting great shot perspectives while maintaining distance from your subject.
This is a plus because not only are you able to steer clear of irritable individuals who look negatively at drones, but the Air 3 can get much closer photos of any subject of your choosing from further away, keeping the Air 3 clear of obstacles.
Many fans of the Air 2S have wondered why DJI decided to use dual-1/1.3″ sensors instead of either a 1-inch 24 mm camera and a 1/1.3 70 mm tele camera or dual 1-inch cameras.
This decision has continued to be an area of debate for many.
Thankfully, for many hobbyists, the new back-lit stacked image sensor on both cameras produces nice images. Additionally, with the f1.7 aperture 1/1.3″ sensor, the Air 3 takes decent mixed-light and low-light images.

| Camera | DJI Air 3 |
|---|---|
| Wide-Angle Camera: | 1/1.3-inch CMOS, Effective Pixels: 48 MP Photography resolution: 8064x6048px FOV: 82° Format Equivalent: 24 mm Aperture: f/1.7 |
| Medium Tele Camera: | 1/1.3-inch CMOS, Effective Pixels: 48 MP Photography resolution: 8064x6048px FOV: 35° Format Equivalent: 70 mm Aperture: f/2.8 |
» MORE: Best Camera Settings for DJI Air 3 (Photo & Video)
48 MP Photo Performance
One of the more sought-after photo options on the Air 3 is the ability to shoot 48 MP photos.
This was something introduced back in the days of the Air 2 and has trickled down through various DJI drones, including the Air series.
When shooting 48 MP, although the cameras are technically 12 MP, a technology called Quad Bayer is employed. In layman’s terms, Quad Bayer technology basically quadruples each megapixel in the camera, resulting in sharper photos.
You might have noticed that up to this point, I have used the words “ok, nice, and decent” a fair bit when talking about the Air 3’s photo quality. This is specifically directed at the 48 MP photo option.
I’ll put this right out front. In all honesty, currently, as of this article’s release, on the 48 MP side of things, the Air 3 camera for photography purposes works ok.
Currently, for many, Air 3 48 MP photos are not spectacular, like the 20 MP images on the Mavic 3 Pro. Nor does the Air 3 take the same quality 48 MP photos as the Mini 4 Pro, although it used to.
This is coming from someone who has used two different Air 3s since release, both recreationally and professionally, and I continue to use the Air 3.
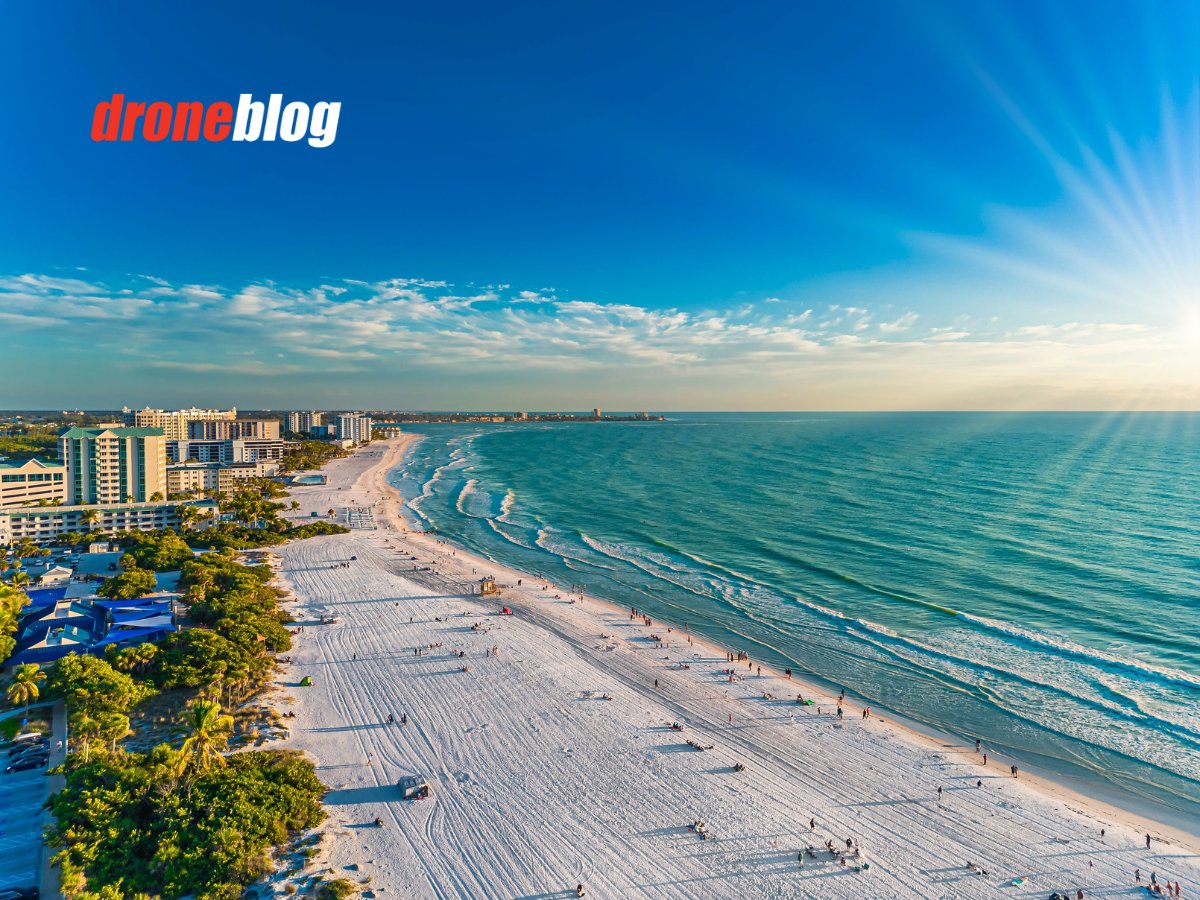
When the Air 3 was first released and reviewed here at Droneblog, the 48 MP photos were really good, great even. There was not any extreme chromatic aberration or fringing, and the photos were very sharp.
Below is an early review example of a photo taken at 48 MP.


A few months after the Air 3’s release, a firmware update was then put out that caused the 48 MP images to be slightly blurry, with increased chromatic aberration and noticeable artifacts.
The 48 MP image below was taken after the firmware update in question. A lot of photo editing in both Lightroom and Luminar was needed to get the image to where it was usable. It is still noticeably blurry, even after running the image through Topaz Sharpen.

DJI was made aware of the issue and has since released subsequent firmware updates to address some of these issues. However, the 48 MP images are not what they originally were upon the Air 3’s original release.
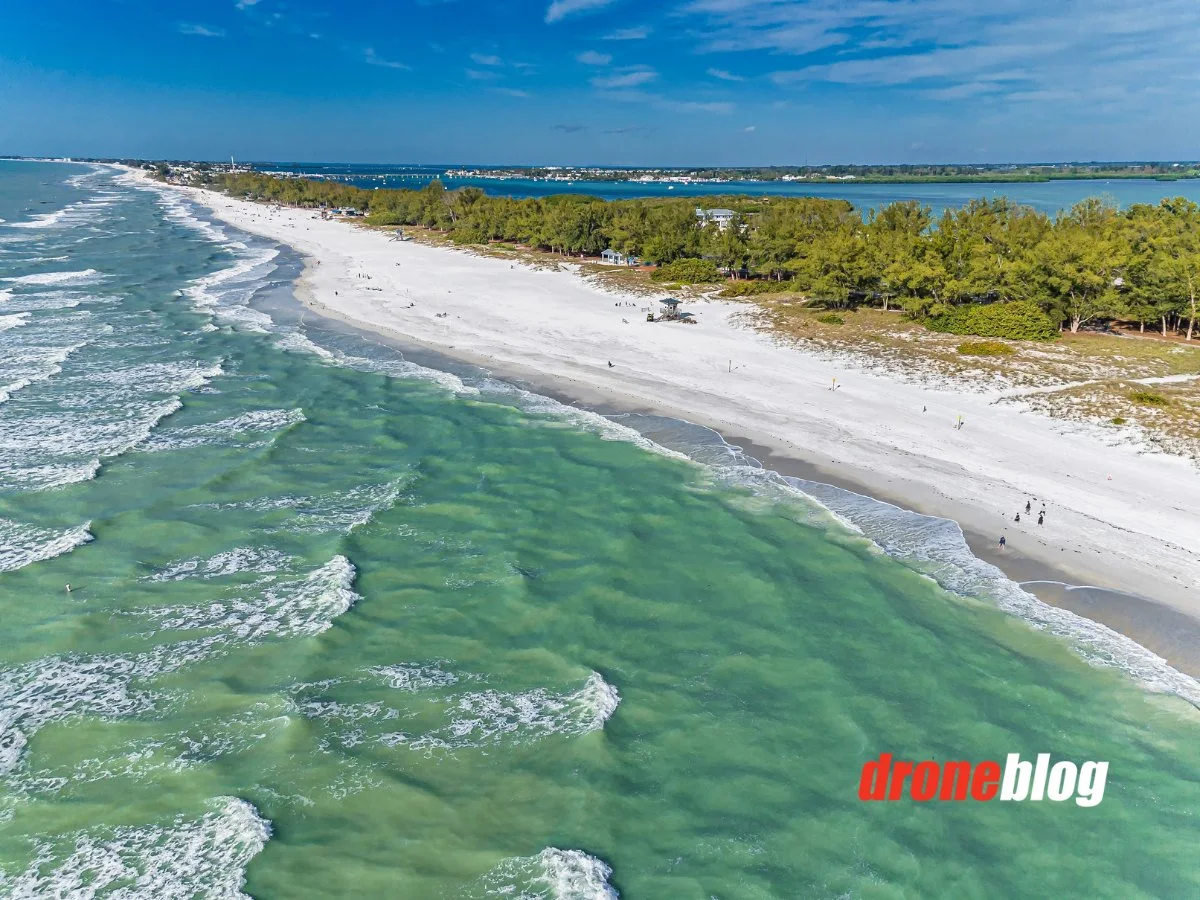
Because of this, all images taken specifically for this article were shot as standard 12 MP RAW photos. Additionally, as of recently, I am only shooting 12 MP recreational photos with the Air 3 for the time being.
With all of this being said, the Air 3 does indeed shoot excellent 12 MP photos. Shortly, we’ll see a few examples that showcase this.
» MORE: Drone Photography: Beginner’s Guide to Getting Started
Photography Basics for the Air 3
We’ll now talk about a few photography basics that, once understood, should elevate photos taken with the Air 3 from just okay to the best they can be.
This information is also the same for any DSLR or Mirrorless camera one normally uses.
Aperture
The aperture, on any camera, and not just drones, is the hole or opening you’ll see if you look into the camera lens.
The larger the aperture opening (i.e., f/1.7), the more light gets in and the brighter the image. The smaller the aperture opening (i.e., f/22), the less light gets in, resulting in a darker image.
Additionally, the aperture also controls how blurry or sharp a background is. This is more noticeable when using DSLR and Mirrorless cameras.
When the aperture is open more (i.e., f/1.7), the shallower the depth of field is: the background behind and around your subject begins to blur out.
With the aperture closed down (i.e., f/16), the background is sharper or more in focus, with everything in the shot appearing to be clearer.
» MORE: What Is Drone Photography? (Explained for Beginners)
Here’s a quick word about the Aperture on the Air 3
The Air 3’s dual camera system utilizes two separate apertures for the dual cameras.
The 24mm wide-angle camera has a fixed aperture of f/1.7, whereas the 70mm tele camera has an aperture of f/2.8.
Unlike the cameras on the professional-level Mavic 3 Series, the apertures on both Air 3 cameras are fixed. They cannot be adjusted to aid in properly exposing shots or changing the depth of field.
ISO
ISO is the actual name for the function that measures a camera sensor’s sensitivity to light. ISO is used and can be adjusted for both photos and videos.
On the Air 3, ISO 100 is the lowest, or darkest value, and when shooting video, it can be as high as 12800 in night mode (brightest).
In general, when taking pictures, the lower the ISO, the better.


Low ISO values ensure that photos are not noisy or grainy. It is suggested that, whenever the situation allows, shoot with an ISO value of 100.
Of course, like with anything in photography, you might need to make exceptions to this rule. There may be times when the “stay at ISO 100 rule” must be adjusted to achieve better scene exposure.
With the Air 3’s main 24mm wide camera having such an open and fast aperture of f/1.7, taking photos using ISO 100 works well, especially in low-light situations.
» MORE: Best Drones for Night Time Use (Photography & Video)
Shutter Speed
Shutter speed serves two distinct purposes for photography: exposure and motion blur.
Exposure
If your photos need to be brightened or darkened, outside of the ISO values, you can up the shutter speed, which will darken the image, or slow the shutter speed, which will brighten the image.
The Air 3 will automatically adjust the shutter speed when in Auto Mode to brighten or darken the image.
Motion Blur (For Photos)
You might want to capture something in motion as a blur when taking drone photos.
You’ll particularly see this in landscape photography, where there is running water in the form of waves or waterfalls, and the water has a dreamlike soft effect.
This comes from using a slow shutter speed. The slower the shutter, the more motion blur in the picture.
» MORE: EXO Drones vs. DJI (Which Drones Are Best?)
White Balance
In all aspects of photography, white balance evens out the color temperature in an image to make the image look more natural.
This is also true with the Air 3.
Color temperature is measured in Kelvin (k). 10,000k is Blue, 1,000k is Orange, and there is a full spectrum of variations, intensities, and hues within the ranges of blue and orange.
When the white balance is set correctly in the DJI Fly app, the color white falls more in line with the actual color white, normalizing the look of the entire image for the conditions in which the picture will be taken.
The DJI Fly app has a white balance slider that allows you to pick the numerical kelvin (k) value. If this is too challenging, you can choose auto.
Additionally, to fine-tune what you see on-screen, you can take the White Balance out of Auto and then make slight adjustments from there with the slider.
» MORE: Drone Photography Planning (Explained for Beginners)
Photo Image Formats: JPEG OR RAW (DNG)?
We’ll talk briefly about the image formats the Air 3 is capable of shooting. These are JPEG and RAW. On the Air 3, the RAW files are DNG files.
JPEG files are the easiest files to work with for social media. Beginners and the social media conscious can quickly slap a social media filter on the photos and share them.
This is because JPEG files are compressed and fully processed files and contain less information than RAW (DNG) files. These files are pretty much complete and ready to share online, with no editing required, although you can indeed manipulate the files some.
RAW files, or in DJI’s case, DNG files, are uncompressed, unprocessed files that contain all the information the Air 3 collects for said images. Some of this information would include:
- the range of the image’s colors
- dynamic range information (highlights & shadows)
- white balance, etc.
With the vast array of editable information DNG files retain, these files are used by photographers who like to use photo editing software.
Using software such as Photoshop, Lightroom, and Luminar AI/Neo (to name a few) allows for in-depth creative vision. At the end of this article, we will be talking a bit more about photo editing and the results that can be achieved.
» MORE: Real Estate Drone Photography (A Complete Guide)
Taking Photos with the Air 3
Now we’ll look at the various photography modes available on the Air 3, as well as choosing the right settings for taking pictures, and some of the tools available to achieve better photos.
Still Photography Modes
For those familiar with Mirrorless or DSLR cameras, the DJI Air 3 is capable of taking pictures with photo modes that are similar to regular ground cameras. These modes are:
- Single Shot: 12 MP and 48 MP
- Burst Shooting: 12 MP, 3/5/7 frames; 48 MP, 3/5 frames
- Automatic Exposure Bracketing (AEB): 12 MP, 3/5 frames; 48 MP, 3/5 frames at 0.7 EV step
- Timed: 12 MP, 2/3/5/7/10/15/20/30/60 s; 48 MP, 5/7/10/15/20/30/60 s
Single Shot

The single-shot mode does exactly that. When you press the focus/shutter button, the Air 3 will take a single photo. After this, you frame up or compose your next shot and press the shutter button to take another photo.
This mode is perfect for those who want to leisurely snap a few specific photos while flying.
Burst Shooting
When Burst Shooting with the Air 3, you can set the number of photos you’d like to automatically be taken when you press the shutter button.
This is a rapid-fire mode that will take a specific number of consecutive photos. You can set the mode to shoot 3, 5, or 7 photo bursts when taking 12 MP photos. If taking 48 MP you can specify 3 or 5 photo bursts.
This mode is great for getting consecutive shots of your subject engaged in some sort of action.
» MORE: DJI Mini 3 vs. Air 3 (Here’s My Choice)
AEB (Automatic Exposure Bracketing)
Auto Exposure Bracketing is a method used to capture photos to then use in HDR (high dynamic range) photos. HDR photos retain the highlights and shadows of a photo, so everything in the photo is visible.

The AEB method is especially popular in Real Estate and Landscape photography, as this method captures a properly exposed photo, an over-exposed photo, and an under-exposed photo.
After the photo is taken, the image can be blended together using editing software, creating an HDR photo. With HDR photos, all aspects of the photo (highlights, mids, and shadows) will be properly exposed and viewable.
AEB photos can be set in intervals of 3 or 5 frames per shutter press.
Timed
Aside from just getting great aerial shots, drones are great for group selfies.
With the Timed photo mode, a timer can be set in the DJI Fly app to trigger the Air 3 to take a photo. This is useful when taking single or group selfies, and the pilot would like to hide the controller (i.e., put it down) after framing the shot.
Timed shots can be taken with intervals of 2 to 60 seconds when taking 12 MP photos, or 5 to 60 seconds when shooting 48 MP photos.
» MORE: DJI Air 3 – Active Track (All You Need to Know with Video)
Auto or Pro (Manual) Camera Mode?
When flying the Air 3, it can never be said it suffers from a lack of options when it comes to taking photos (or videos, for that matter).
The Air 3 caters to all levels of photographers. From beginners to intermediate to advanced.
For those who would like to just point and shoot, without worrying about any of the photography basics we discussed up to this point, the Air 3 has an Auto Camera mode.
When taking photos in Auto, the Air 3 will do a very good job of analyzing the scene and adjusting all of the appropriate settings. If wanting to quickly get photos and upload them to social media, then shooting JPEGs in Auto works great.
For those who are accustomed to shooting manually on a mirrorless or DSLR camera, the Air 3 has Pro Camera mode.
As the name suggests, Pro Camera mode is for those who are perhaps professionals, enthusiasts, or amateur photographers.

Pro mode enables you to individually change almost every camera setting to get the right exposure and balance for your photos:
- ISO
- Shutter Speed
- White Balance
- Image Aspect ratio
- Photo Format
» MORE: DJI Fly App – How to Master Shooting in Manual Mode
DJI Fly Photography Tools
If you are looking to get the most out of your Air 3 photography, there are many tools within the DJI Fly app that aid in proper composition and exposure.
These visual aids are similar to the ones found in most popular cameras, from Sony to Canon to Nikon, etc.
Grid Lines
The Air 3’s grid line option is broken into three parts:
- Rule of Thirds
- Diagonal
- Center target
Rule of Thirds
As with the aforementioned ground cameras, the Rule of Thirds overlay has 9 equal blocks that divide the camera view frame.
In addition, there are 4 points placed on the intersecting lines. Placing your subject on one or more of these intersecting points creates pleasing compositions.
Diagonal and/with Center Target
The diagonal lines, in addition to the center target, aid in framing up a shot.
If you are looking to get a particular subject directly in the middle of the frame (such as a vehicle, person, or watercraft), these options will work well.

» MORE: Tips for Flying a Drone Over Water (Video)
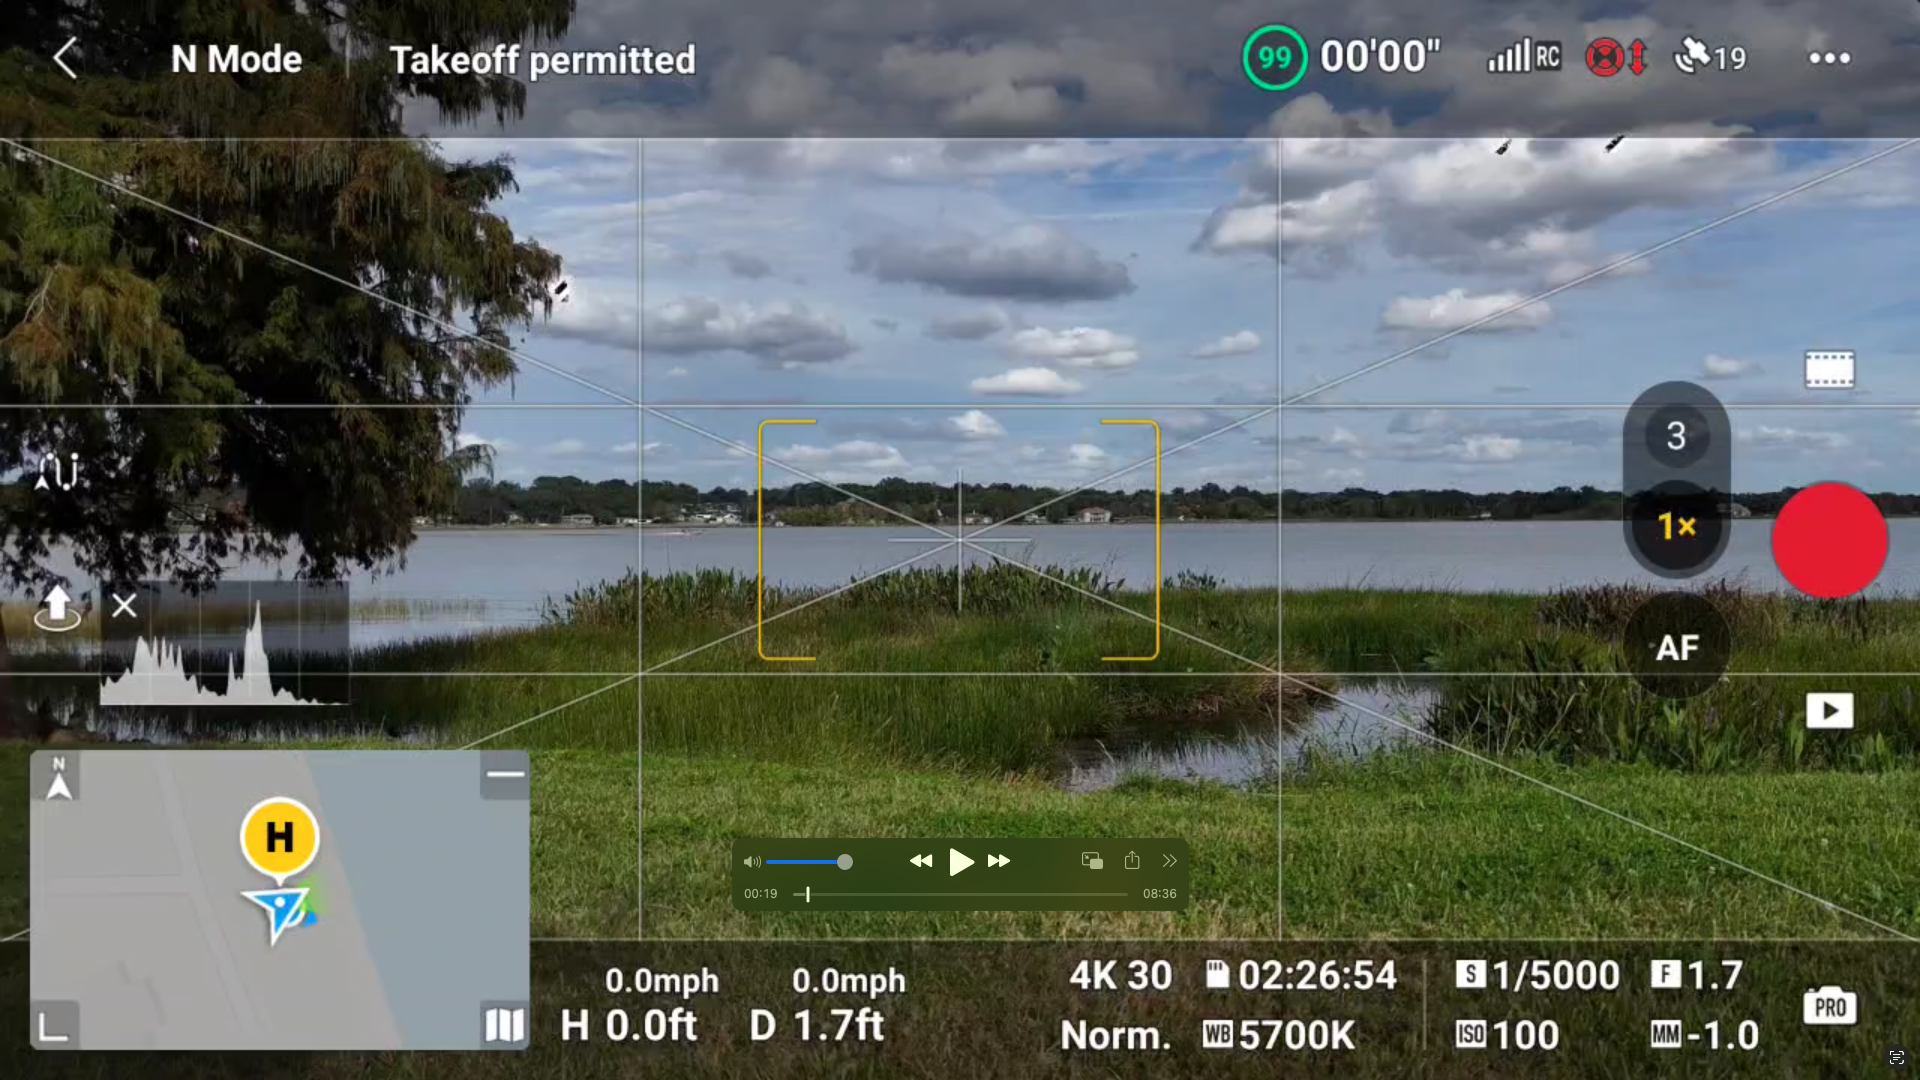
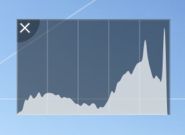
Histogram
Histograms are representations of the overall exposure coming out of the Air 3’s camera. The purpose of this small tool is to keep the photo from being too light or too dark.
The left side of the histogram represents the shadows and blacks. On the right side, the highlights, whites, and center represent the mid-tones.
When an image is properly exposed, it resembles a mountain more towards the middle, without extremes in the bars on the far right and left extremes.
Below is an example of the histogram found on the camera view screen, although this particular one is overexposed.

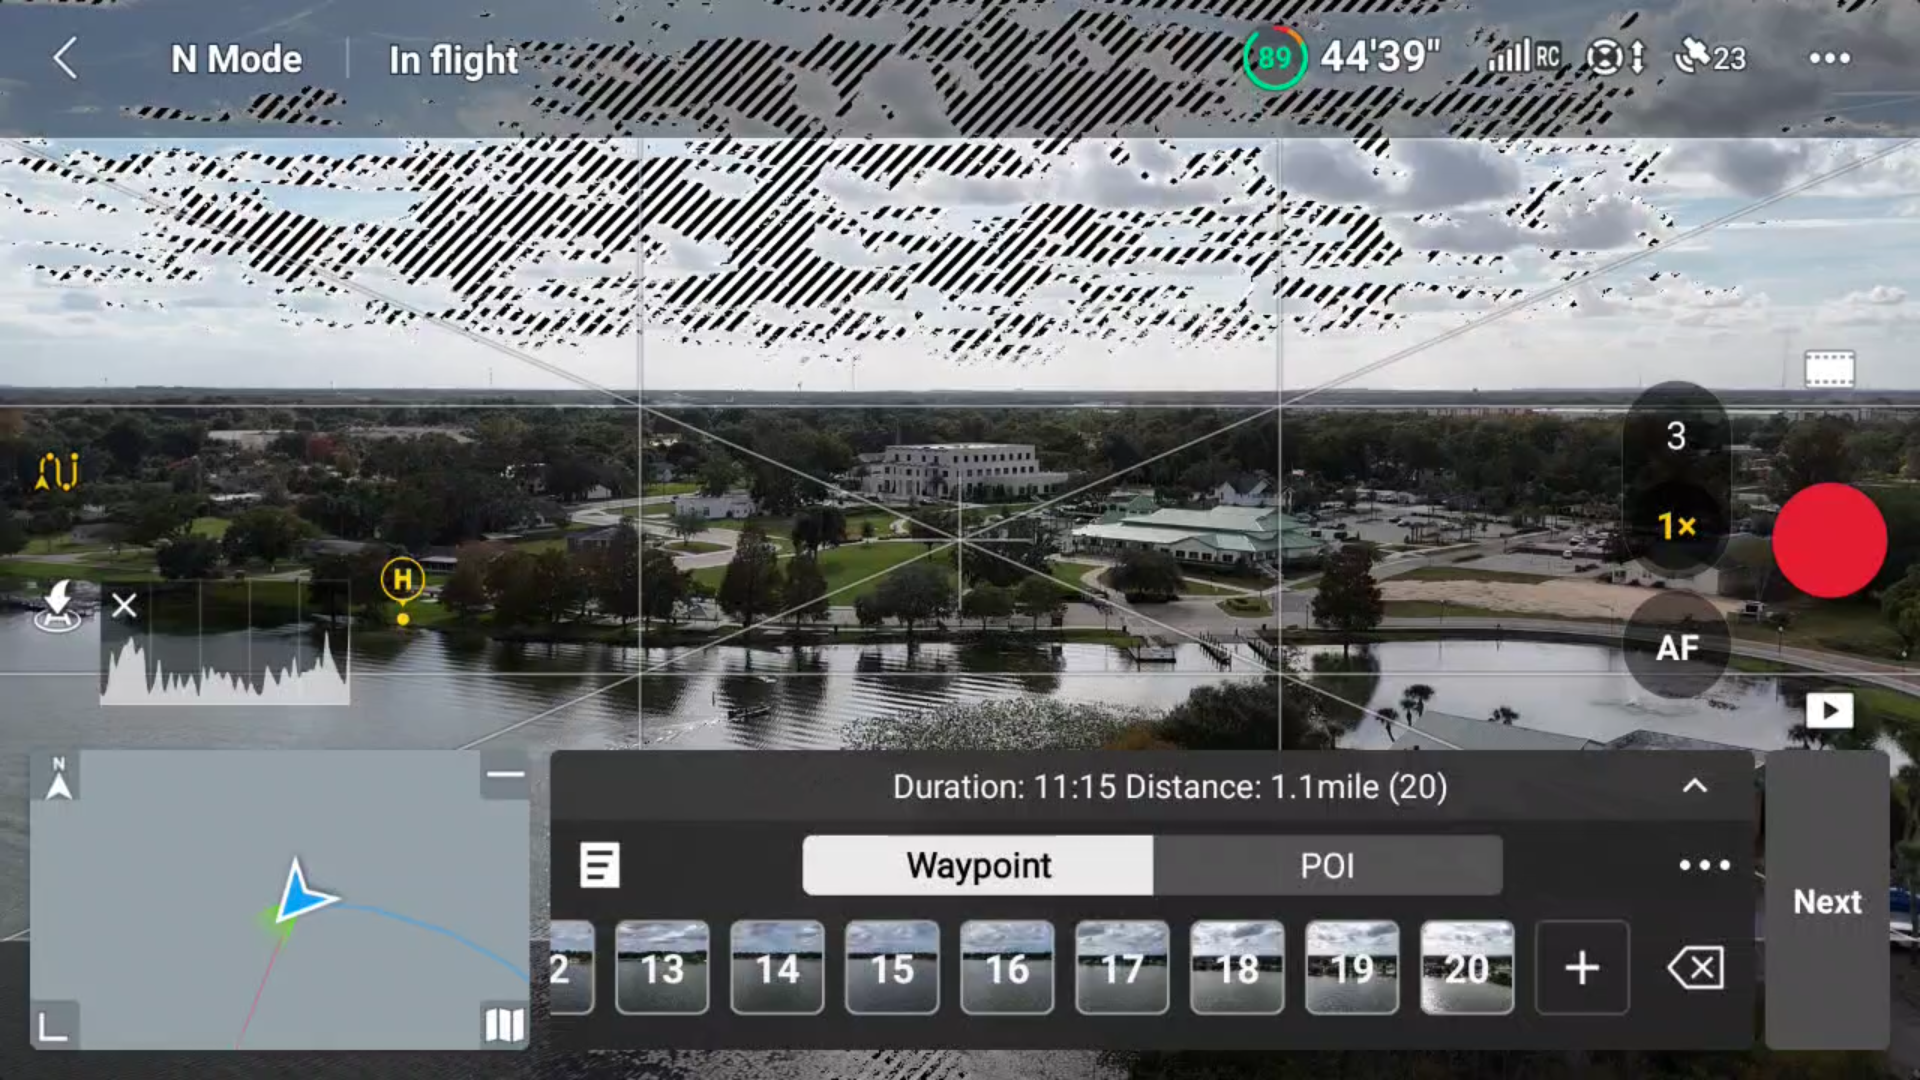
Over-Exposure Warning
The over-exposure overall shows as zebra stripes in areas of the screen that are blown out or over-exposed.
While the zebra stripes do show on-screen, they do not appear in your shots.
Like the Histogram, this is another useful optional tool that assists in identifying and correcting exposure issues. It can be turned off and on.

» MORE: DJI Mini 2 SE Camera Quality (With Pictures)
Photo Editing
To get the most out of the Air 3’s camera, we highly suggest editing the photos using some sort of photo editing software.
Photo editing software is used to do just that: edit photos. This software helps the photographer to convey the picture that is in mind.
All of the pictures in this article up to this point were edited using various types of photo editing software.
When we speak of editing, we are pointing to the manipulation of a photo’s color, white balance, spot removal, texture, sharpness, exposure, and even the feel of the scene being captured – the emotion it evokes.
Below are just two examples of photos that were taken with the Air 3 with no photo editing done, followed by involved photo editing (not an applied social media filter).
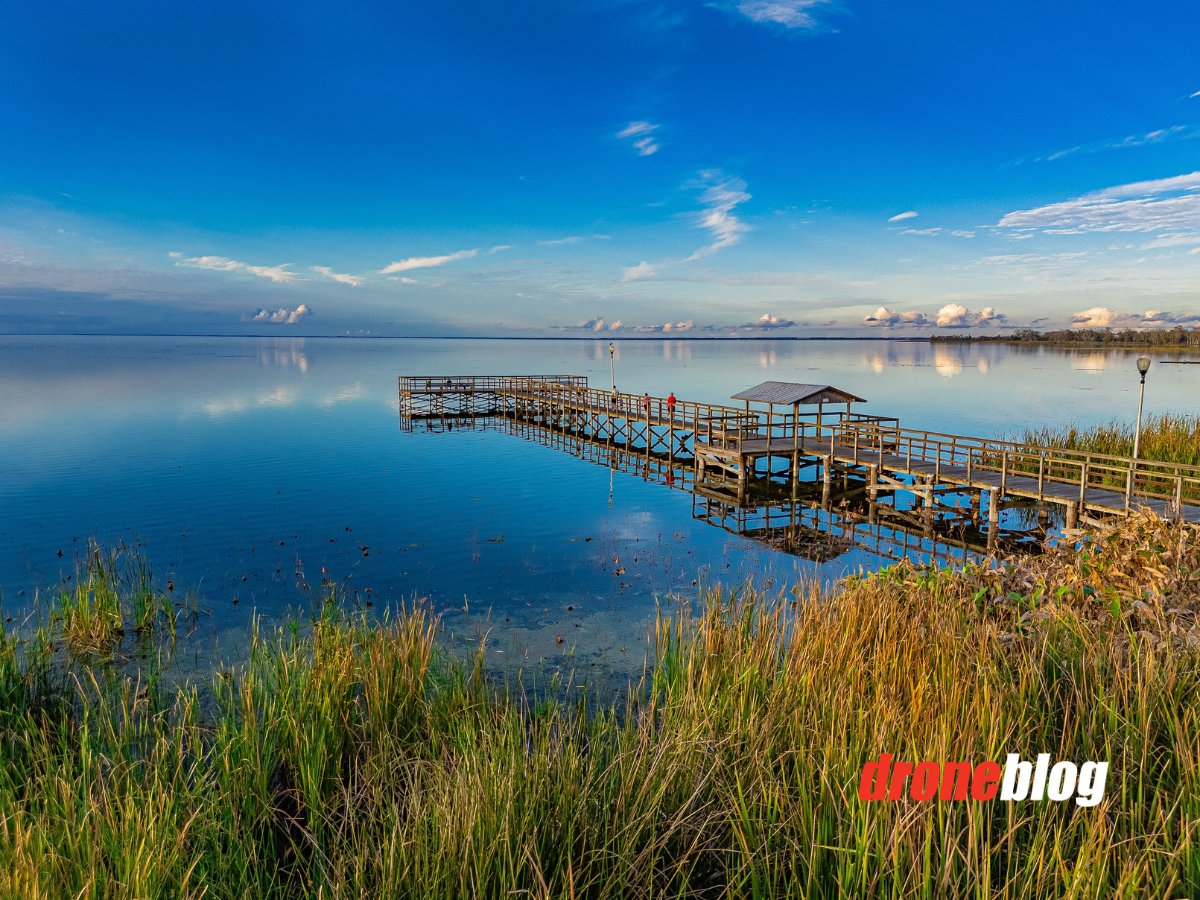
For this image, while it looks nice, it doesn’t really convey the true colors, essence, and feeling of the focal point and surroundings.
The edited version below conveys how vibrant and alive the area felt after the gloom began to blow away for the evening.

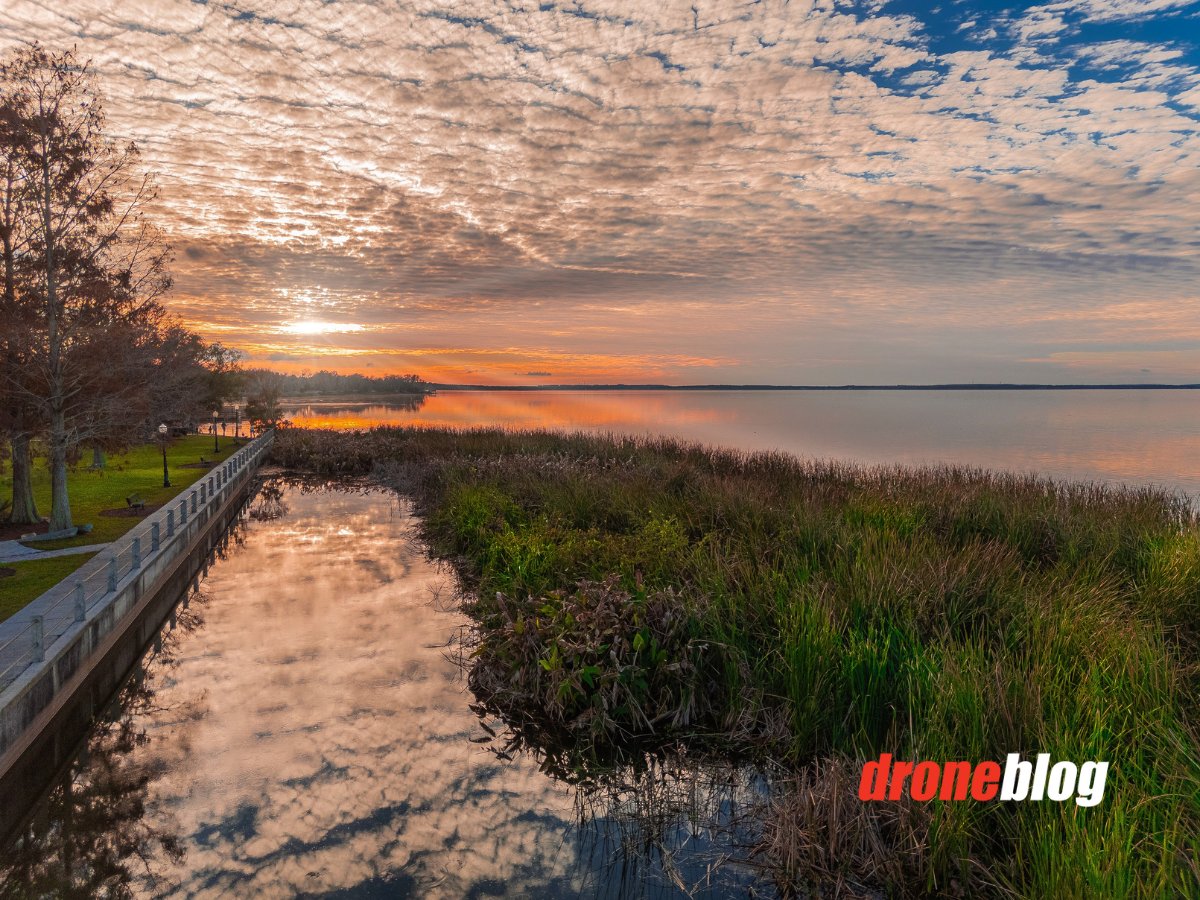
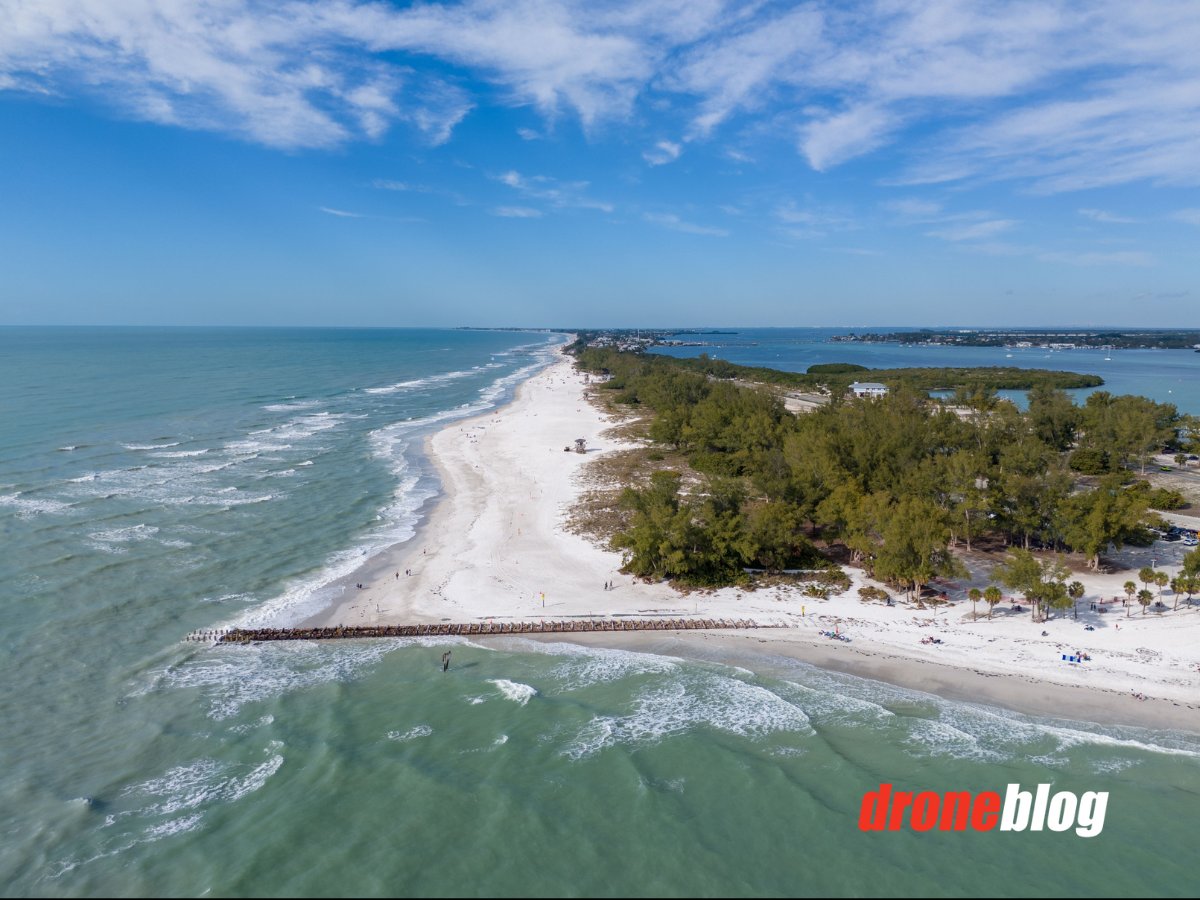
In this unedited photo, we have evidence that the Air 3 does a great job at taking low/lower light photos, as this picture was taken a few minutes after sunset.

After editing, the photo now more accurately reflects what I personally saw and felt during this golden hour shot. Editing not only allowed for color manipulation but also slight adjustments to overall detail and sharpness.

When you look at the plethora of photos online (regardless of whether they were taken by drone or a standard digital camera), many, if not most, have been edited (even if just slightly) using some sort of software.
Earlier, we spoke about the differences between JPEG and DNG (RAW) files.
If you are taking photos with the Air 3 with all intent and purpose of editing the photos, then the DNG (RAW) image format is best. Photo editing software will be able to manipulate all of the data saved in the images.
Some of the more popular photo editing software is:
- Lightroom (Classic, Mobile, or Standard)
- Photoshop
- Luminar (AI or NEO)
If, however, you are planning to quickly get pictures, apply a filter to them, and immediately post them to Social Media, JPEG files are the way to go. The JPEG format is easy to work with and a lot smaller in size than DNG/RAW files.
» MORE: Best Editing Software for the DJI Mini 3/ Mini 3 Pro

