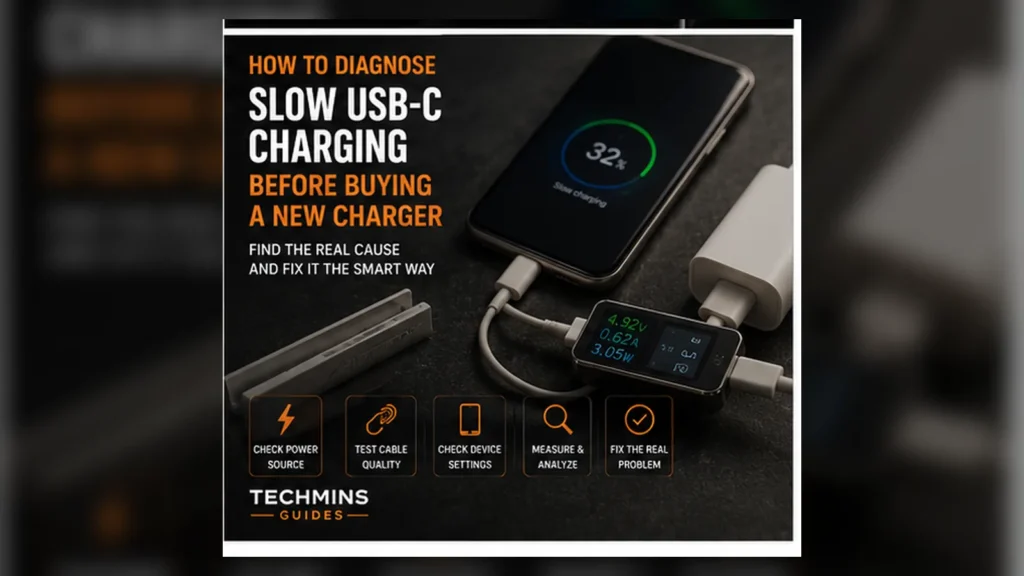
USB-C charging problems are a perfect example of why connector shape is not a specification. Two ports can look identical while supporting very different power, data and display capabilities. A systematic test prevents unnecessary purchases.
- Start with the device’s official charging input requirement.
- USB Power Delivery negotiation determines available power.
- The cable can limit high-current or Extended Power Range operation.
- Multi-port chargers can redistribute their total power budget.
- Measure under repeatable conditions because battery percentage, temperature and workload change charging behavior.
Step 1: establish the device requirement
Find the manufacturer’s supported USB-C input wattage and protocol. A laptop shipped with a 65W USB-C adapter gives you a useful expected baseline. Some devices accept more power from optional chargers; others never request above the bundled adapter.
Step 2: inspect the charger output table
Look for voltage/current combinations and per-port limits. USB Power Delivery sources advertise supported profiles rather than simply pushing the printed maximum. A multi-port charger may provide its full capacity only when one USB-C port is in use.
Step 3: test with only one connected device
Disconnect phones, watches and other cables from the charger. Many compact chargers dynamically split output. If the target device suddenly charges faster, power sharing — not a defective charger — was the bottleneck.
Step 4: use a known-good rated cable
USB-IF’s USB PD 3.1 specification extends power delivery up to 240W with suitable USB-C cable/connector support. High-power operation requires a cable designed and electronically identified for the relevant capability.
For diagnosis, use a short reputable cable with a clearly stated power rating that meets or exceeds the device requirement.
Step 5: use the correct device port
Laptops can have several USB-C ports with different capabilities. One may support charging, another may be optimized for data/display, or both may support charging at different limits. Check the manual.
Step 6: test while the device is cool and idle
Heavy CPU/GPU activity consumes incoming power before it can reach the battery. Temperature can also reduce requested charging power. Close demanding workloads, let the device cool and test at a moderate state of charge such as 20–50%.
| Observation | Likely explanation | Next test |
|---|---|---|
| Fast when alone, slow with second device | Charger power sharing | Check multi-port allocation table |
| Fast with cable B, slow with cable A | Cable limitation/damage | Replace cable A |
| Slow only above 80% | Battery management | Usually normal |
| Slow only during gaming/rendering | High system load | Compare idle charging |
| Every charger limited to same rate | Device input ceiling | Confirm official spec |
Step 7: compare with the original charger
If the manufacturer charger is available, it is your control sample. If the original adapter charges normally with the same device, the replacement charger/cable path deserves scrutiny. If both behave identically, the device may simply be operating at its designed limit.
Step 8: look for operating-system charging information
Some laptops report “slow charger,” estimated charging time or power-source details. BIOS/UEFI tools and vendor utilities may also report adapter wattage. Treat these as clues rather than laboratory measurements, but they can quickly reveal an obvious mismatch.
Step 9: measure USB-C power only if you understand the tool
An inline USB-C power meter can show negotiated voltage/current and help confirm whether the link is operating at 5V, 9V, 20V or an Extended Power Range mode. Use a meter rated for the power you are testing and do not insert questionable adapters into high-power charging paths.
Step 10: understand net charging vs input power
If a laptop draws 50W for its own workload while receiving 65W from the charger, only the remainder is available for battery charging after conversion losses. Battery software may therefore report slow progress even though input power is normal.
Step 11: test at a lower battery percentage
Lithium-ion devices intentionally taper charging near full. A test at 95% state of charge tells you very little about the charger’s peak capability. Compare around 20–50% under similar temperature/load conditions.
Step 12: inspect connectors
Lint, contamination and wear can prevent a connector from seating fully. If charging disconnects when the plug is touched or the connector feels unusually loose, inspect the port carefully. Do not use metal tools inside a powered USB-C port.
Step 13: differentiate slow charging from no PD negotiation
If the device falls back to a basic low-power mode, it may show a warning or charge only while asleep. That points toward missing USB PD compatibility, the wrong charger port or a cable/adapter that prevents correct negotiation.
Step 14: proprietary fast charging
Some phones use vendor-specific charging extensions in addition to or instead of standard USB PD profiles. A generic PD charger may work safely but not reach the manufacturer’s proprietary peak rate. Check the phone’s charging specification before calling the generic charger “slow.”
Step 15: docks and monitors can impose their own ceiling
A USB-C monitor may advertise 65W power delivery even if your laptop prefers 100W. A dock may reserve part of its input power for attached devices. Test the charger directly on the laptop to isolate the dock.
When to stop troubleshooting and replace hardware
- The cable is physically damaged, intermittent or fails a known-good comparison.
- The charger cannot provide the device’s required PD profile.
- The charger shuts down, smells unusual or becomes abnormally hot.
- A device port is loose/damaged and fails with several chargers/cables.
- The original charger works normally while the suspect replacement consistently does not.
A repeatable test worksheet
| Variable | Record |
|---|---|
| Battery level | e.g. 30% |
| Device workload | Idle / light / heavy |
| Charger + port | Model, C1/C2 |
| Cable | Rated wattage / length |
| Other charger ports in use | Yes / no |
| Observed behavior | Normal / slow warning / disconnect |
For the shorter overview of common causes, see USB-C Charging Slowly? 8 Things to Check.