
If you were the recent recipient of the new feature-rich DJI Air 3, there is a lot to learn about your new drone.
There is so much to love with the DJI Air 3, from its dual-camera system, 10-bit color, and omnidirectional obstacle avoidance system.
When you add into the mix also figuring out how to charge the batteries, charge the remote controllers, and use the Air 3 specific power transfer feature, it can be quite daunting.
This article and the included YouTube video are a step-by-step tutorial showing how to charge the DJI Air 3 drone batteries individually, within the Air 3, and collectively in the three-battery charging hub, as well as charging both types of DJI remote controllers and mobile devices.
We’ll also walk through using the Power Transfer function on the battery hub.
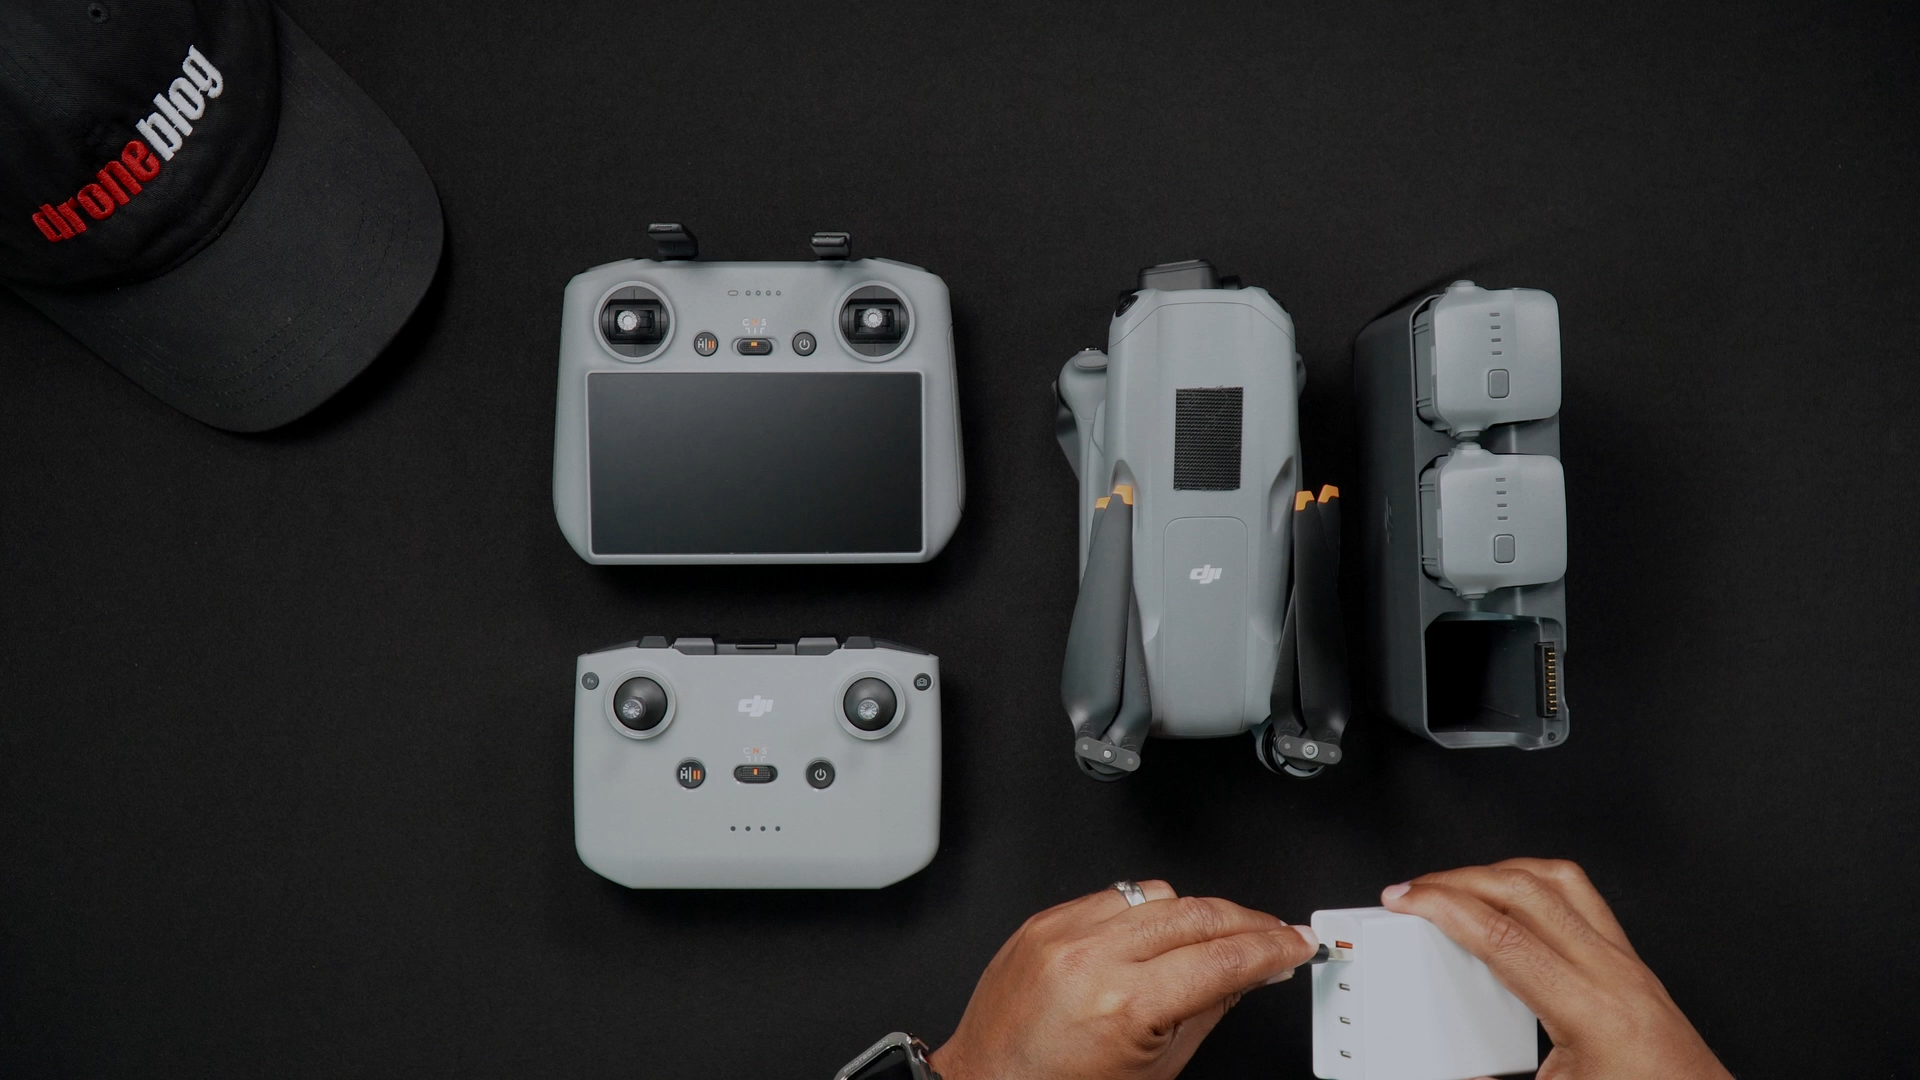
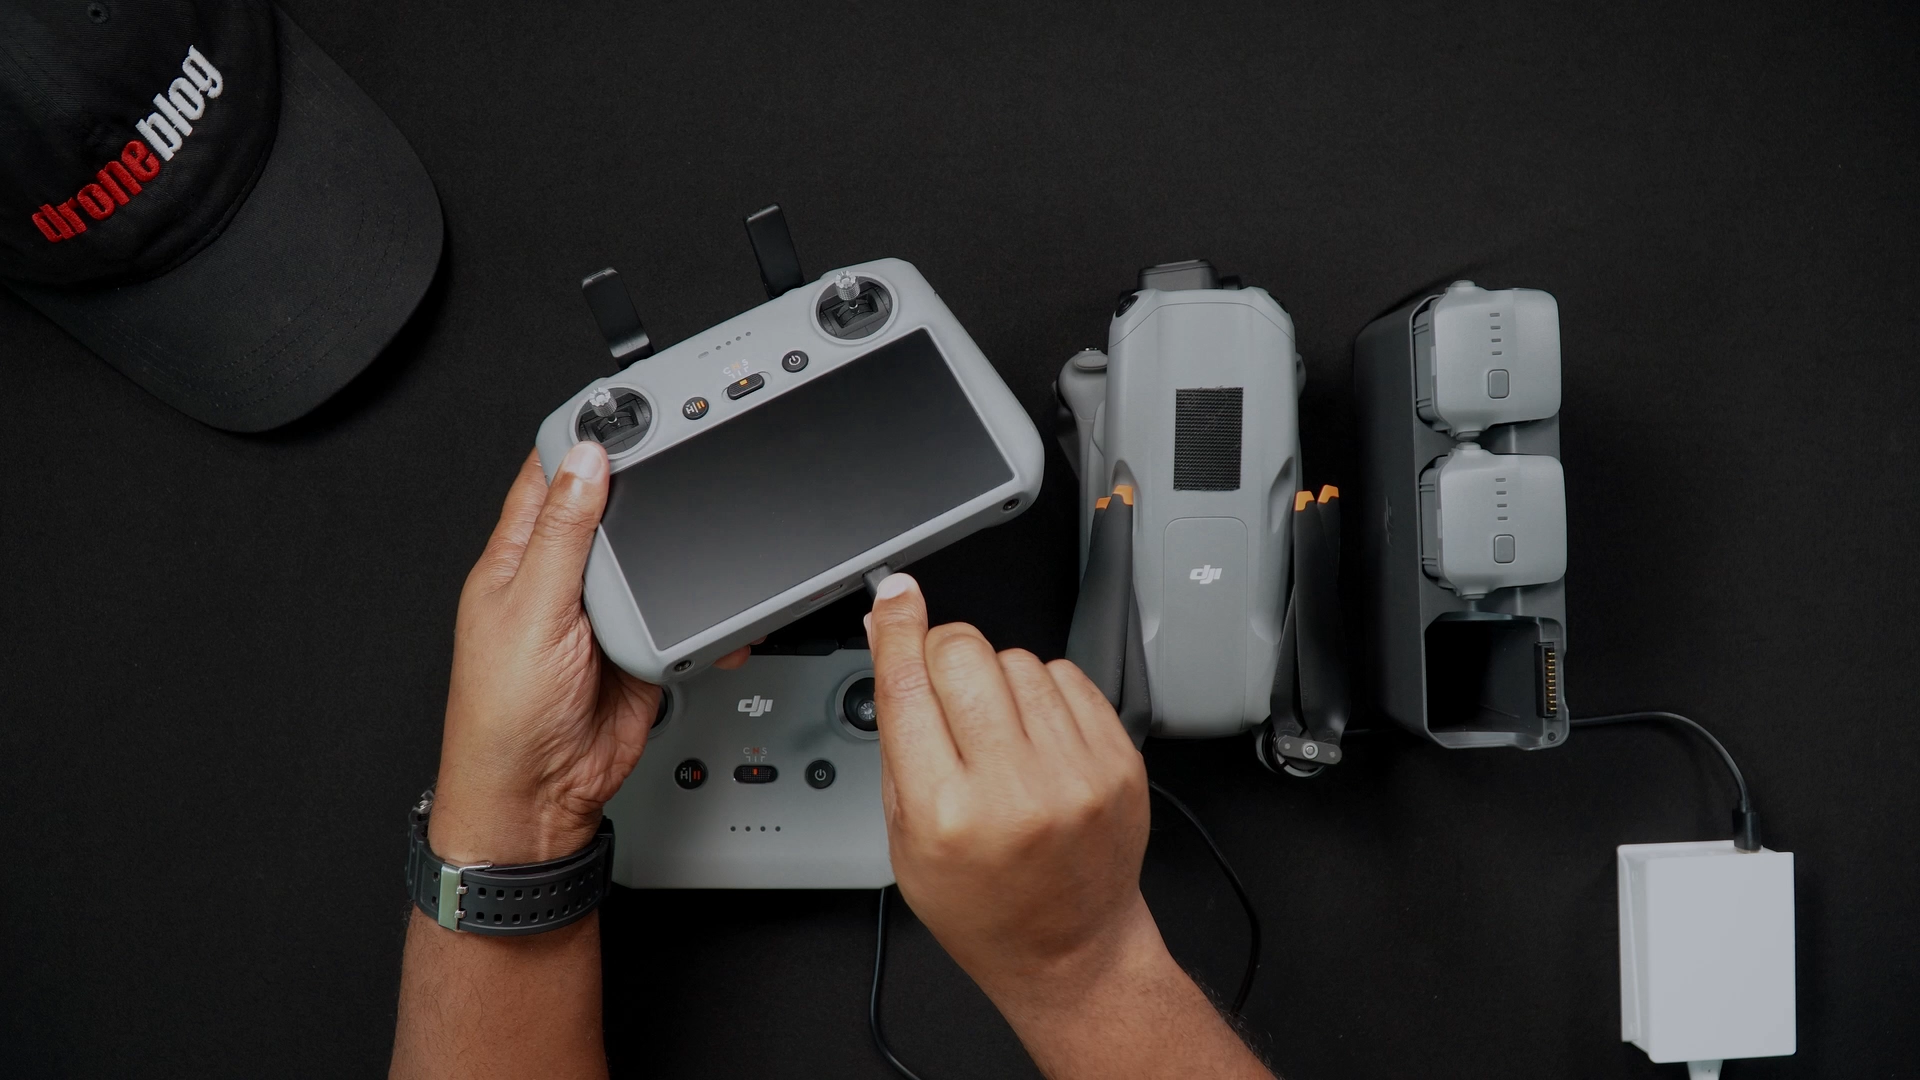
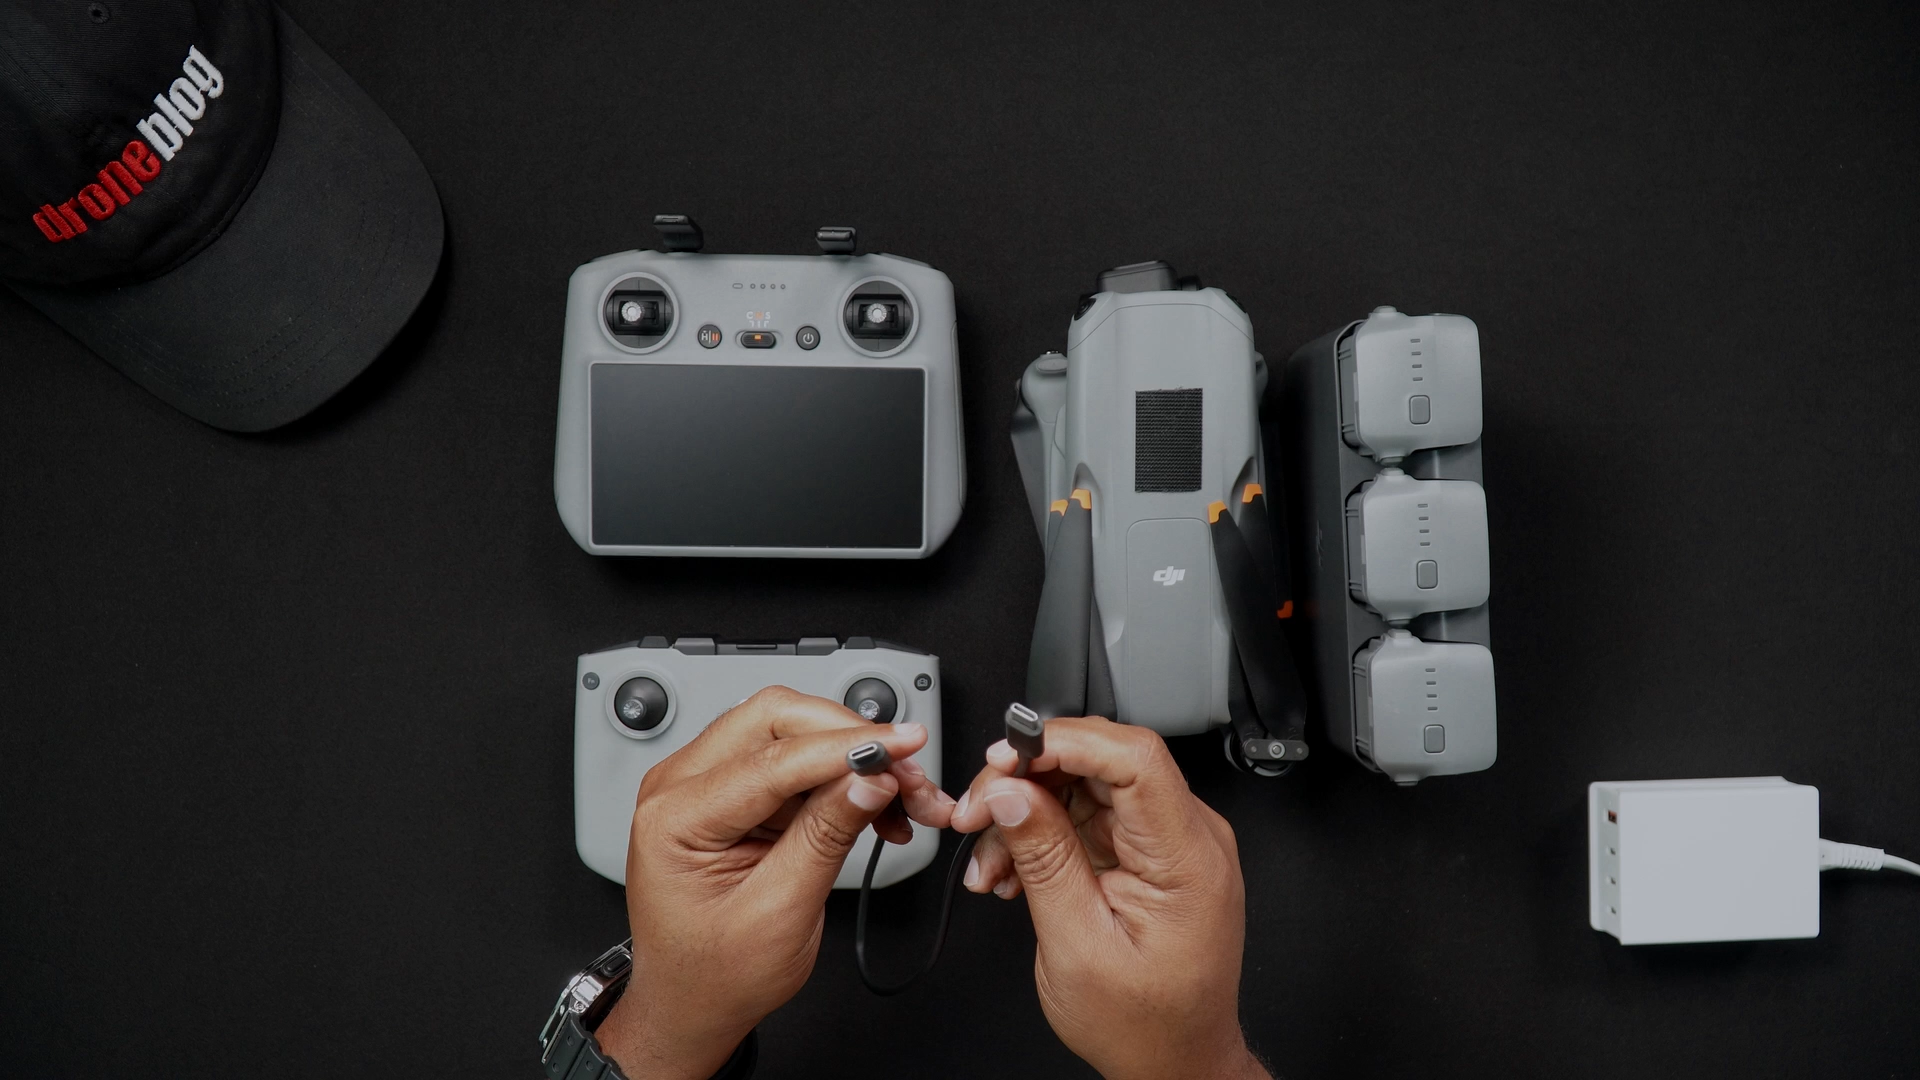
Charging the DJI RC 2 or RC-N2
A very important step to perform after purchasing the Air 3, or any new drone, is charging all batteries before using them, whether these be drone or remote controller batteries.
To charge the DJI Air 3, DJI recommends using their 100-watt Power Adapter. A 100-watt charger will provide the fastest charging speeds for the Air 3 batteries.
While using the DJI-branded 100-watt charger is recommended, aftermarket 100-watt PD chargers also work well.
Not only do they work well, but many have multiple USB ports for charging additional devices. This comes in handy when looking for an all-in-one solution to charge the Air 3 batteries and remote controller.

In the following steps, we walk through charging the DJI RC 2 and RC-N2 with a single charger.
STEP 1: Using the included DJI USB-C cable, attach the cable to your 100-watt USB-C charger and plug the charger into your power source.

Again, the USB-C charger doesn’t have to be a DJI 100-watt charger. Any 100-watt PD charger will be the fastest charging device for the Air 3 batteries and controller.
STEP 2: Plug the USB-C cable into either the DJI RC 2 or DJI RC-N2 controller. The lights on the controller will blink, showing that they are charging.

STEP 3: After charging is completed, remove the USB-C cable from the remote controller.
If you’d like to check the amount of power the remote controller has at any given time, simply press the power button once, and the LEDs will alert you to the remaining battery level.
Below are the values for battery power on the DJI RC 2 and RC-N2:
- 4 green LED: 75% – 100% battery life
- 3 green LED: 50% – 75% battery life
- 2 green LED: 25% – 50% battery life
- 1 green LED: 0% – 25% battery life
Charging a Single Battery
Only one battery will be included if you purchase the Air 3 & Controller-only combo.
To charge the single battery that came with the Air 3, it must be done so within the Air 3 itself:
STEP 1: As with the RC, attach the included DJI USB-C cable to a 100-watt PD charger and plug the charger into your outlet or power strip.
STEP 2: Insert your Air 3 drone battery into the Air 3.
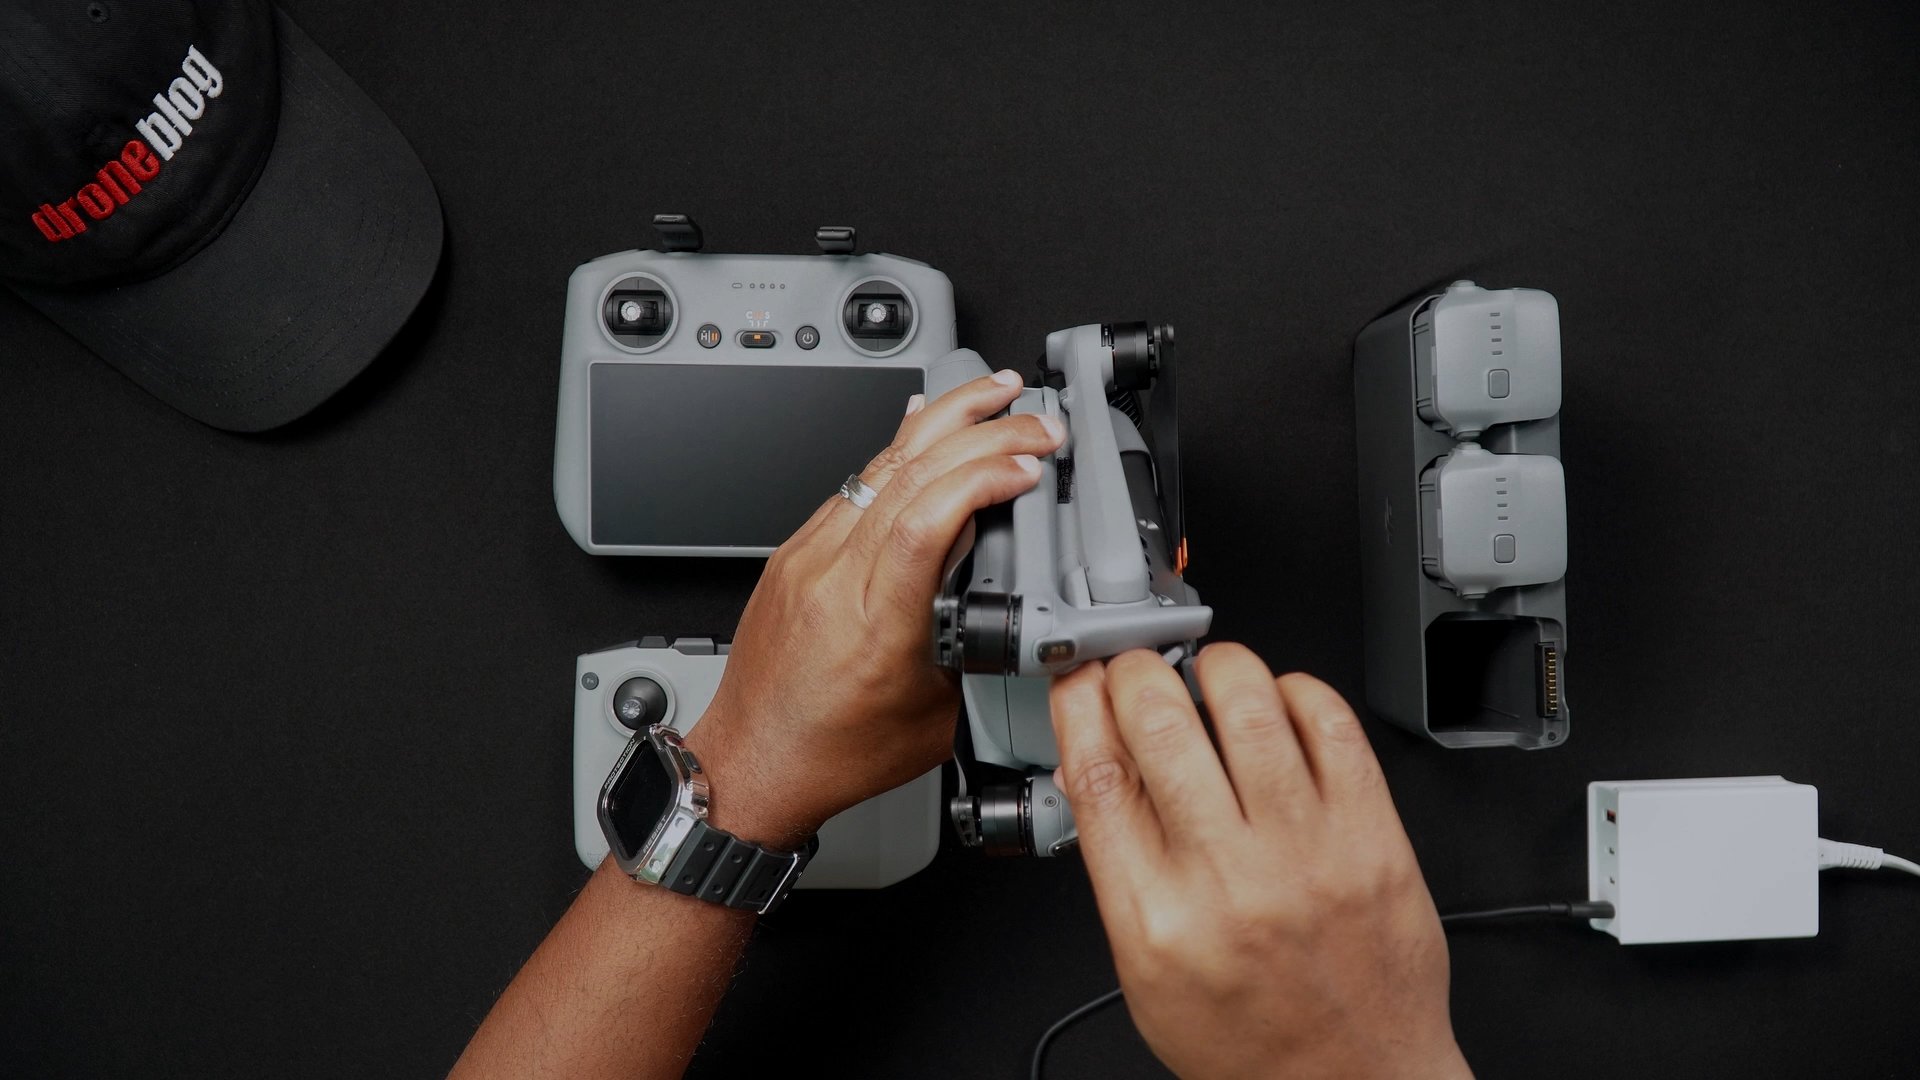
STEP 3: Plug the USB-C cable into the Air 3. The lights on the drone will blink, showing that it is charging.
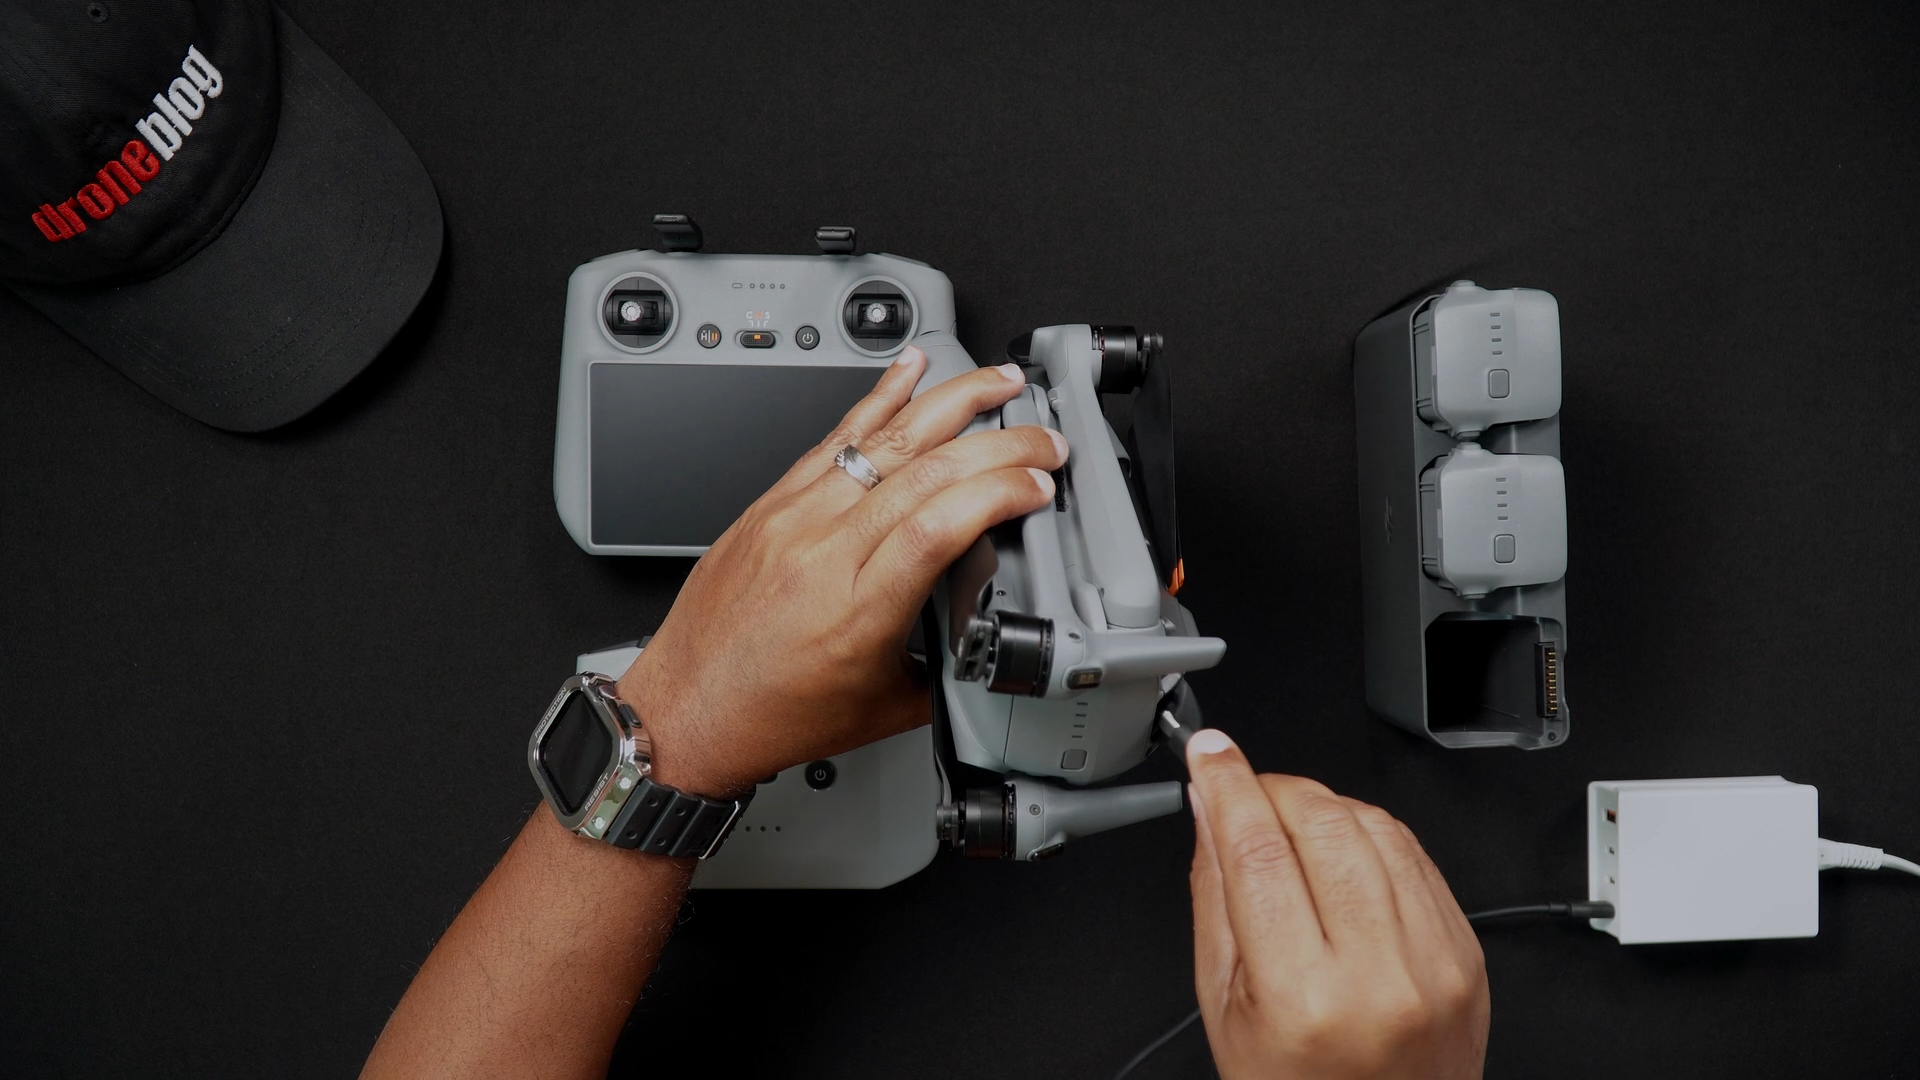
STEP 4: After the Air 3 has completed fully charging, unplug it from the USB-C cable.
Charging via Multi-Function Charging Hub
The multi-function battery charging hub in the Air 3 Fly More Combo allows you to:
- charge three intelligent flight batteries
- charge either the DJI RC 2 or RC-N2 remote controller
- charge a mobile device
- transfer power from two depleted batteries to a third
Like with most DJI hubs, the charging is done sequentially, with the drone battery with the highest battery level being charged first.
To charge three batteries:
STEP 1: Insert your Air 3 batteries into the charging hub.
STEP 2: Using an available USB-C cable, connect the Air 3 battery hub to your 100-watt PD charger.
Your Air 3 batteries will charge sequentially until all batteries have fully charged.
To quickly check how much battery life is left on the batteries in the charging hub, simply press the power button once on the side of the charging hub.
To charge a remote controller (or mobile device) using the charging hub:
Note: You’ll need a USB-C to USB-C cable.
Step 1: Make sure at least one Air 3 battery is in the charging hub and has battery power.
Step 2: Plug one end of the USB-C cable into the battery hub’s USB-C port.

Step 3: Plus the other end of the USB-C cable into your remote controller or device.

Step 4: Press and hold the black power/function button on the battery hub.

The lights on the Air 3 battery or batteries within the hub will begin to blink, as well as the lights on the remote controller, signifying charging. If you are charging a mobile device, it will also show that it is charging.
To use the Power Transfer feature:
Step 1: Insert all three batteries into the unplugged battery hub.
Step 2: Press and hold the black power/function button until the LED indicator changes from yellow and blinks green.

Step 3: To stop the power accumulation function, simply press and hold the Function button until the LED status turns yellow.
Again, the remaining power from multiple batteries will transfer to the battery with the highest remaining power.
Instead of having 3 partially powered batteries, depending on the power level of each, you can now have one fully, or close to a fully, charged battery for your next flight.


