
The Mini 4 Pro is a marvel of sorts in the drone world. Why?
Well, not only is it a sub-250 g drone, but it retains this weight while having an omnidirectional obstacle avoidance system onboard, like the Air 3 and Mavic 3 series.
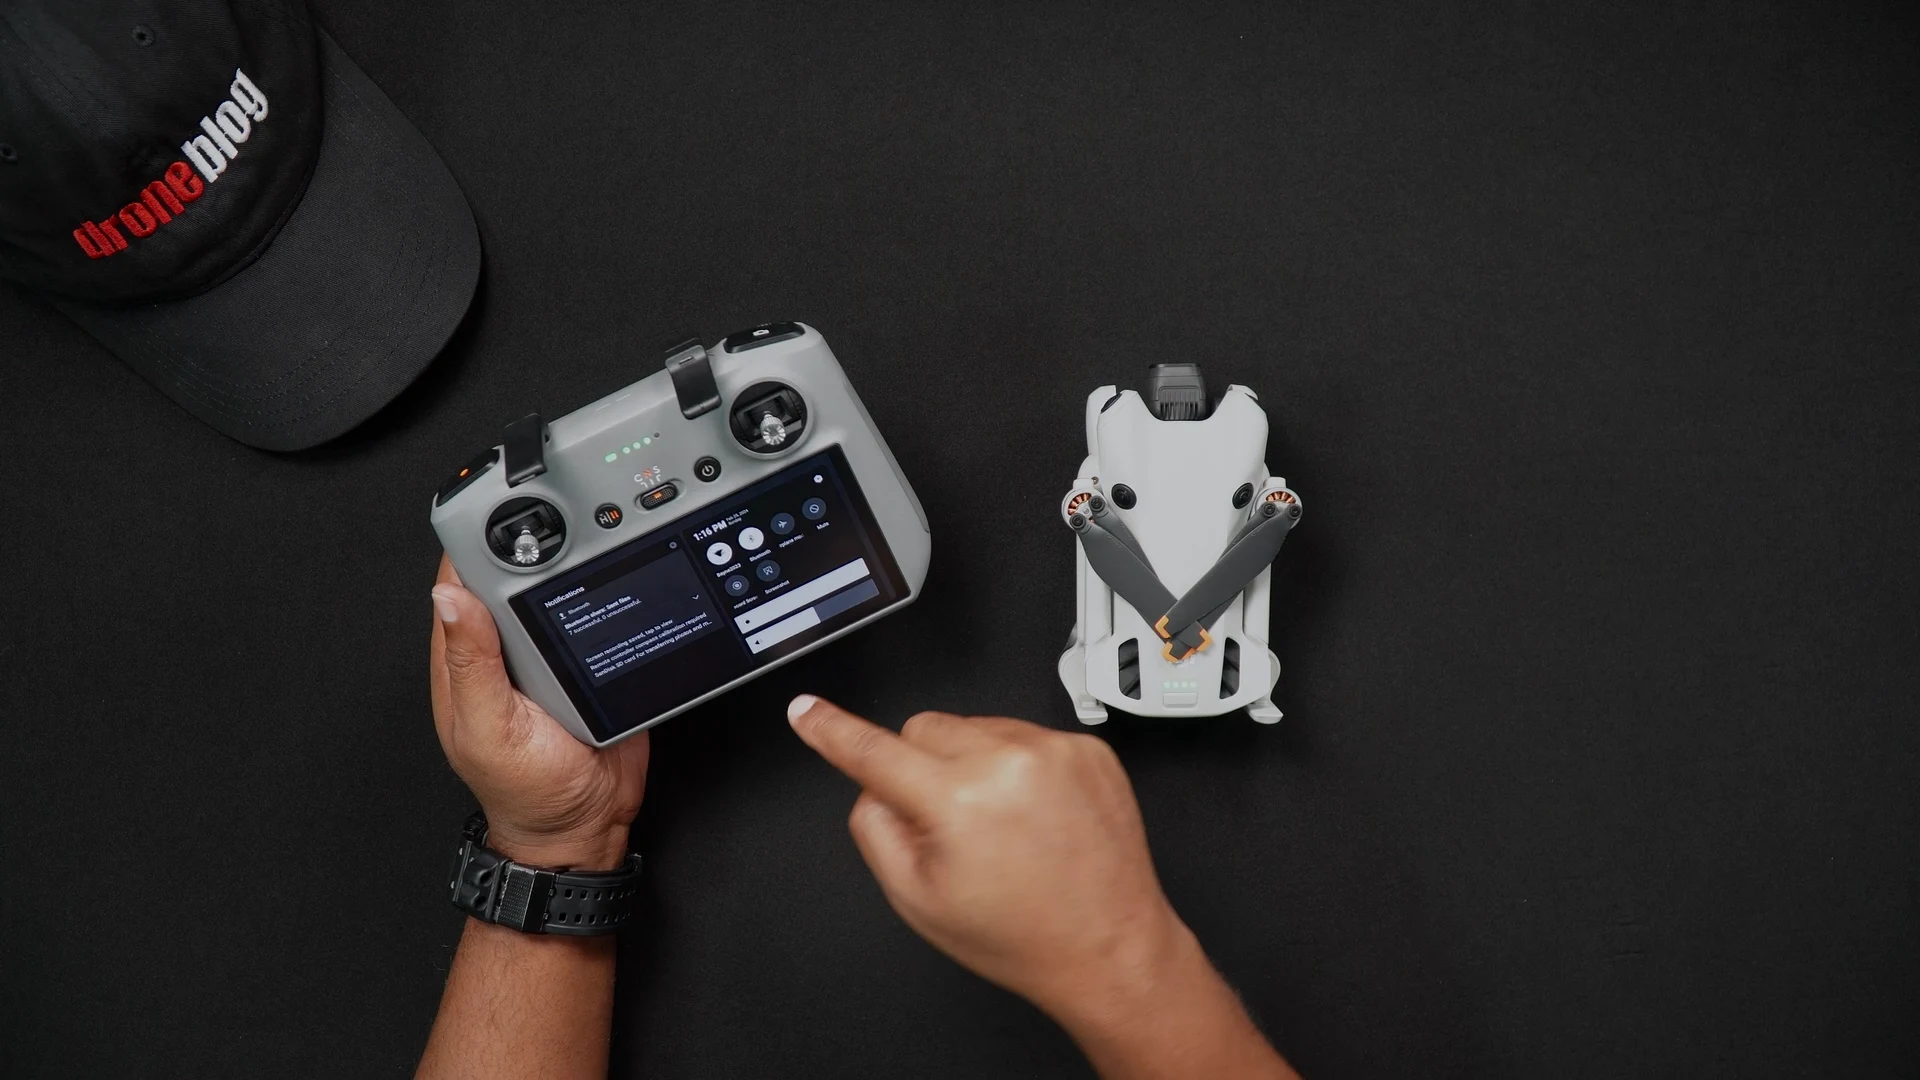
The Mini 4 Pro also uses the DJI RC 2 remote controller, an updated controller based on the ever-popular DJI RC, which was released alongside the DJI Mini 3 Pro in May 2022.
If you’ve never flown using a version of the DJI RC, this article and YouTube video will discuss why you’ll want to connect to WiFi on the DJI RC 2 and walk through the steps needed to connect your DJI RC 2 to WiFi.
Why Connect to WiFi?
This is a question many who initially start flying DJI drones wonder, as WiFi isn’t critical to flying the DJI Mini 4 Pro.
As a Mini 4 Pro owner with a DJI RC 2, you will want to connect to WiFi for two very specific reasons:
- Initiate Firmware Updates
- Access Flight Maps within DJI Fly
Those who use a DJI RC-N2 controller with a cellphone may want to connect to WiFi for the additional purpose of using the QuickTransfer feature.
» MORE: DJI Mini 4 Pro – How to Live Stream on YouTube (Step-By-Step Guide with Video)
Firmware Updates
DJI adds new features, tweaks, and fixes to the Mini 4 Pro, which improves the user experience.
The only way to benefit from these additions is by updating the firmware. To update the firmware, you’ll need to have a solid WiFi signal.
While you can surely connect to your phone’s hotspot, via WiFi, while out on location flying, it is suggested to update the firmware from a solid WiFi connection from home or indoors.
» MORE: DJI Mini 4 Pro: How to Update Firmware (Step-by-Step Guide with Video)
Flight Maps
When in the DJI Fly app, on the lower left-hand side of the Camera View is your flight map.
If you are not connected to WiFi, via your cellphone hotspot, nor have ever flown in that particular area, you will not have a detailed view of the surrounding flight areas.
Connecting to your phone via WiFi while on locations will download the area map.
Alternatively, while connected to WiFi at home, you can navigate to where you plan to fly beforehand, zoom in on the location, and an offline map of the area will be stored in the DJI RC 2.
» MORE: DJI Mini 4 Pro – How to Download Content (Step-By-Step Guide with Photos, Screenshots & Video)
QuickTransfer Feature (DJI RC-N2)
QuickTransfer is intended for those who use DJI Fly with a smartphone and DJI RC-N2 remote controller.
The quick transfer feature allows you to wirelessly export content via WiFi from your Mini 4 Pro’s SD card to an Android or iOS (Apple) smartphone or device running DJI Fly, all without having to even power on the remote controller.
This is ideal for those who would like to quickly edit their photos or videos and immediately share them with family, friends, or on social media.
Note: If using a DJI RC 2, you cannot use the QuickTransfer feature to export photos and videos to the remote controller. The RC doesn’t have editing functions, so transferring content is not currently supported. Editing needs to be done on an Android or iOS smart device running DJI Fly.
» MORE: DJI QuickTransfer Not Working? (Here’s What to Do)
Connecting the DJI RC 2 to WiFi
Step 1: Turn the DJI RC 2 on by pressing the power button once, then immediately pressing and holding the power button.
The DJI RC 2 will turn on and boot up, going to the DJI Home screen.
Step 2: Swipe down once from the top of the screen, similar to how you would on an Android device or iPhone. This will bring down the Notification shade.
Step 3: Swipe down a second time, and you will be brought to the main settings screen.

On the settings screen, you’ll see a variety of options ranging from WiFi to RC brightness and sound, and screen recording, to mention a few.
Step 4: To quickly enable or disable Wifi, tap the WiFi icon.
Step 4 Alternate: If you need to set WiFi on the DJI RC 2, or choose a new connection, press and hold the WiFi icon.
Step 5: You’ll now be brought into the WiFi network screen.
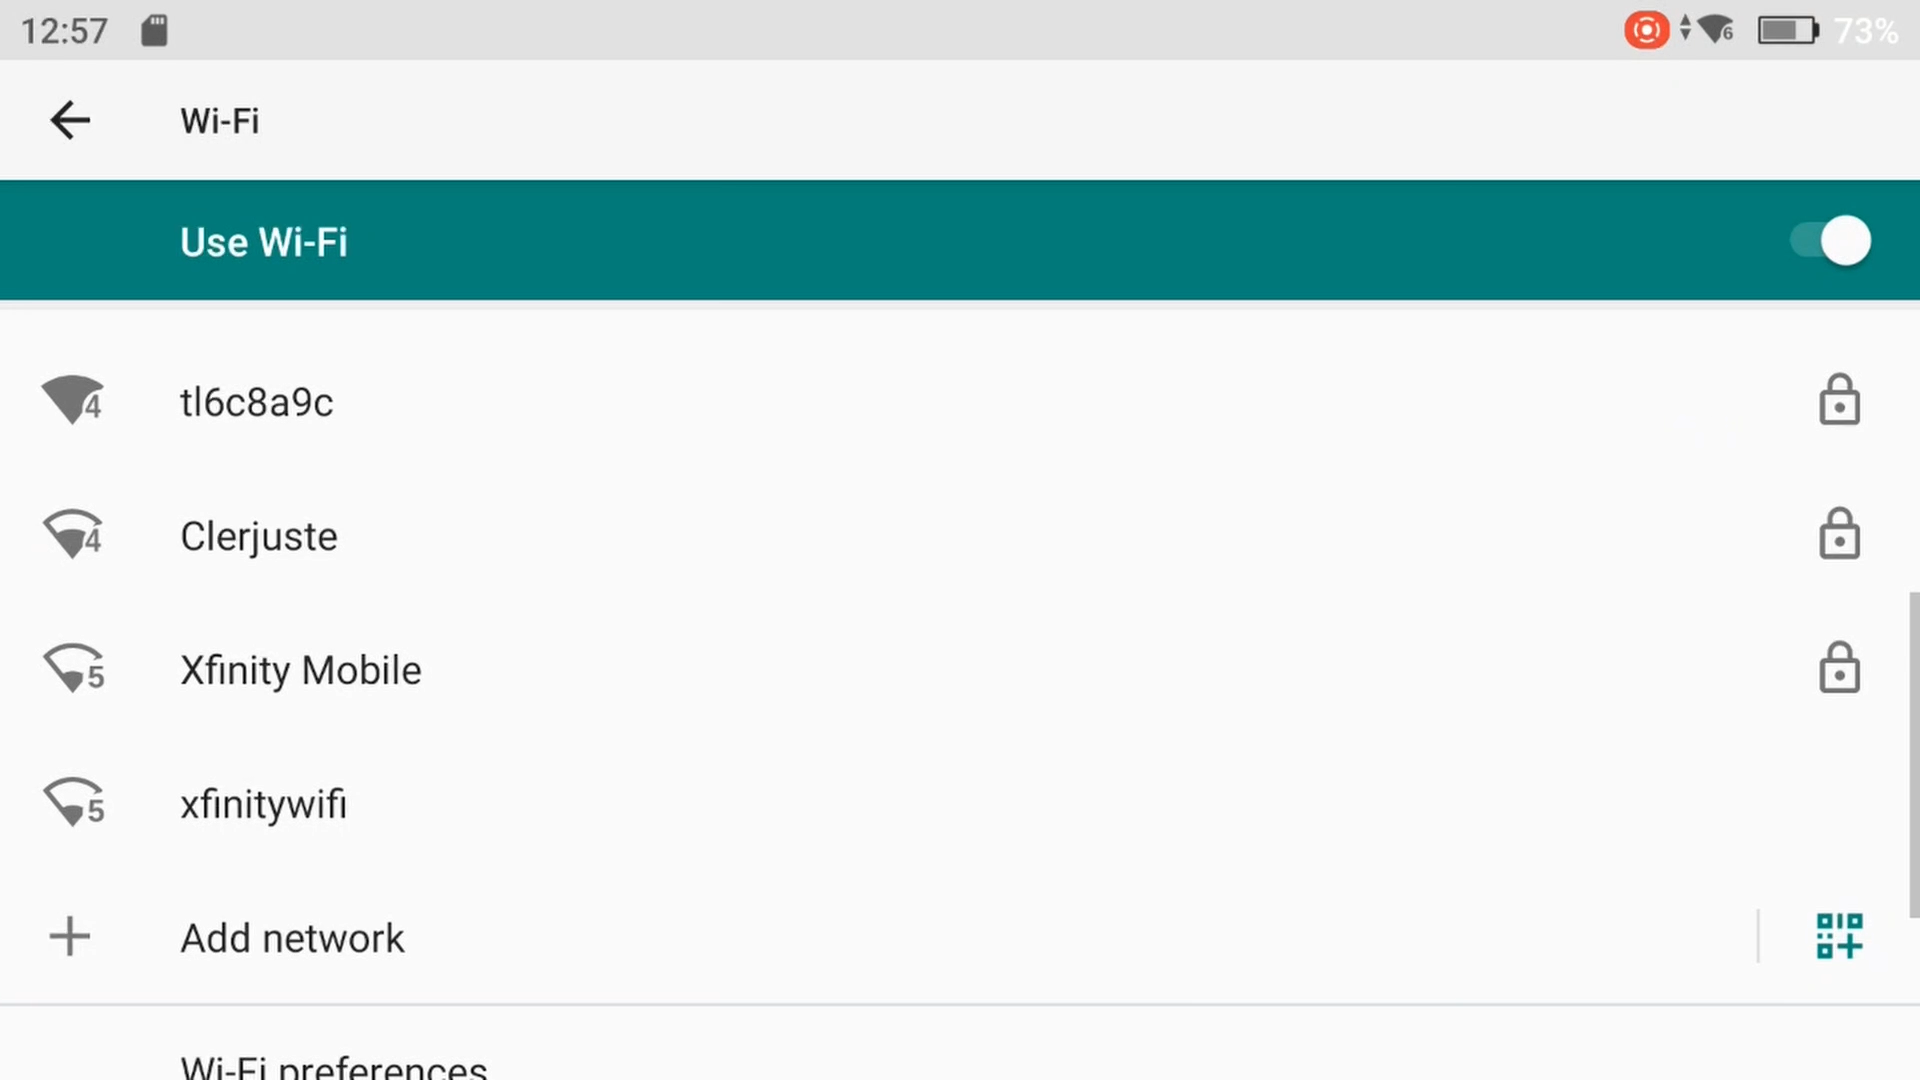
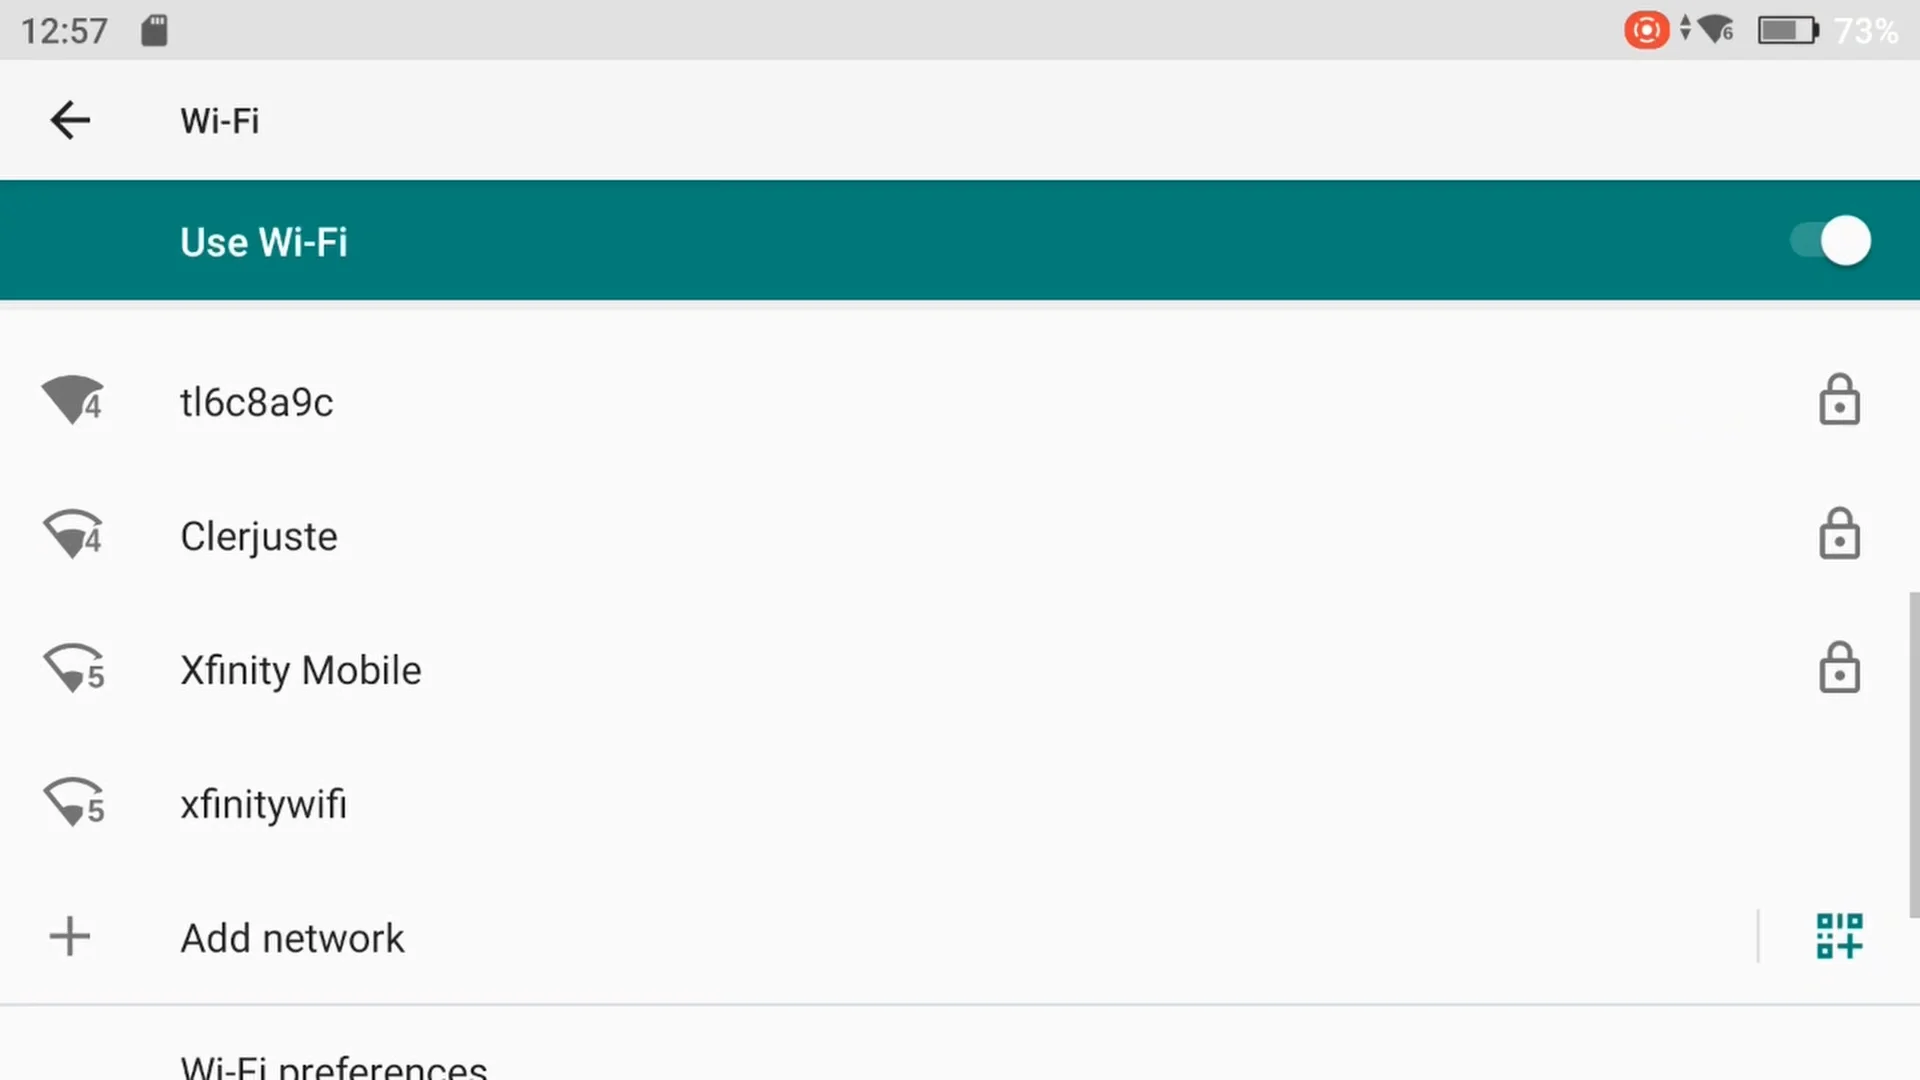
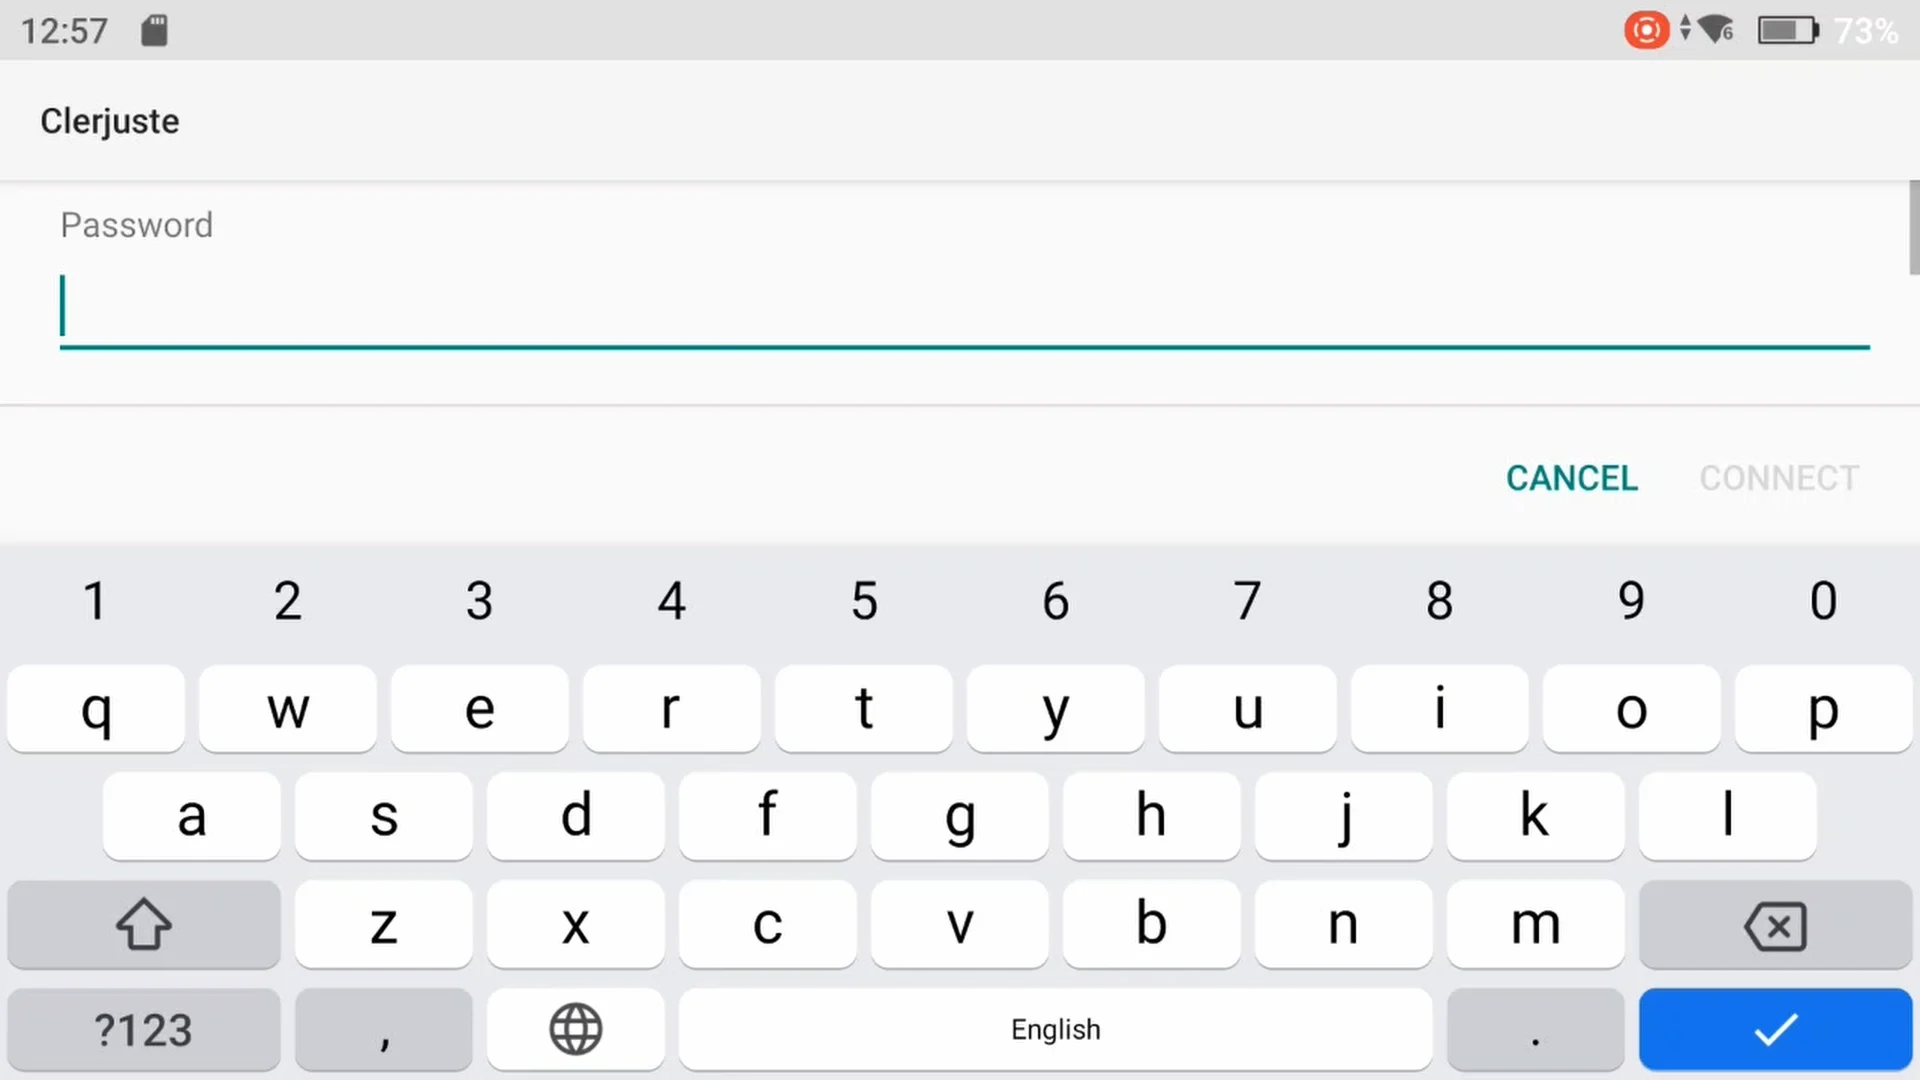
You can now choose the network you would like to connect to. After choosing a network, you’ll be prompted to enter the WiFi password. After which, you’ll connect.

When you connect to WiFi in the future, you’ll automatically connect to the available WiFi network the DJI RC 2 last successfully connected to.
» MORE: How to Connect DJI Mini 2 SE to WiFi (Step-by-Step Guide)


