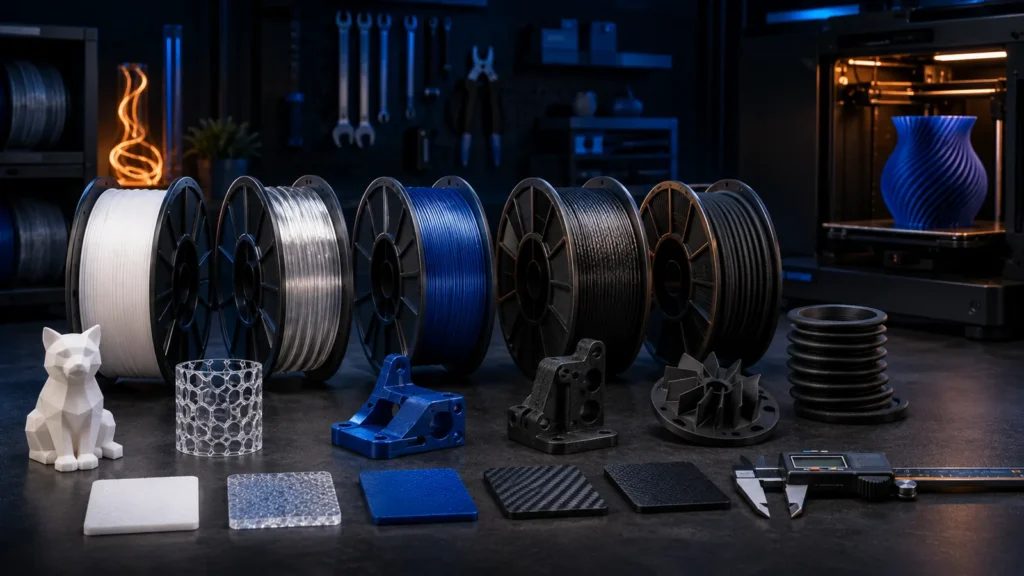
A material can be excellent on paper and still be a poor choice for the job. PLA is often the best answer for indoor rigid parts because it prints easily and accurately. PETG offers more toughness and temperature margin. ASA fits outdoor use. TPU is for flexible parts. Engineering nylons and composites are justified only when the application needs their extra properties.
- Define the environment before choosing the polymer.
- Use the easiest material that meets the requirement.
- Heat and UV exposure eliminate many otherwise suitable choices.
- Stiffness is not the same as impact strength.
- Composite filaments need abrasion-resistant hardware.
- For critical parts, compare datasheets rather than material names alone.
Step 1: define where the part will live
Indoor decorative parts, workshop fixtures, outdoor brackets and engine-bay components have completely different requirements. Write down the operating environment first: indoor or outdoor, expected temperature range, humidity, sunlight, chemicals and mechanical load.
Step 2: check temperature
Heat is one of the fastest ways to rule materials out. Standard PLA can soften at temperatures easily reached inside a parked car. PETG provides more thermal margin, while ASA, PC and engineering polyamides move further into higher-temperature applications.
For functional parts, use the manufacturer’s heat-deflection temperature or Vicat data where available rather than relying on broad material stereotypes.
Step 3: decide whether you need stiffness or toughness
A stiff part resists bending. A tough part absorbs energy before breaking. These are not the same property. Carbon-fiber-filled materials can be very stiff but may fail more abruptly than a more ductile unfilled polymer.
Step 4: decide whether the part must flex
For seals, bumpers, cable strain reliefs, grips and soft hinges, TPU/TPE is the natural family. Flexible materials vary widely in Shore hardness, so “TPU” alone is not enough — a 95A part behaves very differently from a softer grade.
Step 5: consider UV and weather
ASA is a common first choice for long-term outdoor parts because of its UV/weather resistance. PETG can also work well outdoors in many applications. PLA is better reserved for protected environments unless the specific formulation is validated for UV exposure.
| Material | Strong fit | Main limitation |
|---|---|---|
| PLA / PLA+ | Easy indoor rigid parts, prototypes | Heat resistance |
| PETG | General functional use, moisture exposure | Stringing, moderate heat ceiling |
| ASA | Outdoor/weathered parts | Enclosure and fume management |
| ABS | Tough functional parts | Warping, fumes, lower UV stability |
| TPU | Flexible parts | Feeding and print speed |
| PA / PA-CF | Tough engineering parts | Moisture and printer requirements |
| PC | High heat and strength | High processing temperature |
| PPA-CF | High-temp stiff engineering parts | Cost and demanding hardware |
Step 6: check chemical exposure
Oils, cleaners, fuels, coolants and solvents can attack polymers differently. If a part will contact chemicals, consult a material-specific compatibility chart or manufacturer datasheet. A generic “PETG is chemical resistant” claim is not enough for a critical application.
Step 7: check dimensional stability
Filled materials often reduce shrinkage and warping, which can help jigs and fixtures. But dimensional accuracy still depends on calibration, moisture condition, chamber temperature and print orientation.
Step 8: check printer capability
- Maximum safe nozzle temperature
- Bed temperature
- Enclosure or heated-chamber requirement
- Hardened nozzle / drive gears
- Drying and sealed storage
- Ventilation or fume management
PLA: still the correct choice surprisingly often
For models, electronics brackets, organizers and many room-temperature fixtures, PLA’s stiffness, surface quality and print reliability make it a sensible material. An engineering filament that costs three times as much can easily make the print harder without improving the actual application.
PETG: the general-purpose step up
PETG is useful when you want more toughness, moisture resistance and a little more temperature headroom than PLA while keeping the process relatively accessible. It is a good default for many functional household and workshop parts.
ASA: the outdoor specialist
ASA becomes attractive for exterior mounts, housings and automotive outdoor parts. The trade-off is process control: an enclosure and appropriate ventilation matter much more than with PLA/PETG.
Engineering nylons and composites
PA-CF, PPA-CF and related materials earn their place when stiffness, heat resistance, fatigue behavior or dimensional stability justify the extra cost and drying effort. They should not be the default for simple room-temperature parts.
Five example decisions
| Part | Good starting material | Why |
|---|---|---|
| Indoor drawer organizer | PLA | Easy, stiff, accurate |
| Outdoor camera mount | ASA | UV/weather resistance |
| Workshop jig | PETG or PETG-CF | Toughness / dimensional stability |
| Flexible bumper | TPU | Elasticity |
| High-temp fixture | PPA-CF / validated engineering polymer | Thermal performance |
Use datasheets for critical parts
Two products both labeled “PETG” or “PA-CF” can have significantly different mechanical and thermal properties. Compare tensile modulus, elongation, impact strength, heat-deflection data, moisture conditioning and recommended print settings.
Consider post-processing and joining
Sanding, painting, bonding and solvent treatment vary by material. ASA/ABS can be processed differently from PETG, while fiber-filled materials can expose fibers when sanded. If the part must be painted or glued, include that in the material decision.
Use the selector when the application is unclear
Techmins’ Filament Selector provides a quick way to narrow material families by temperature, outdoor exposure and mechanical priorities. For the common baseline comparison, see PLA vs PETG vs ASA vs ABS.