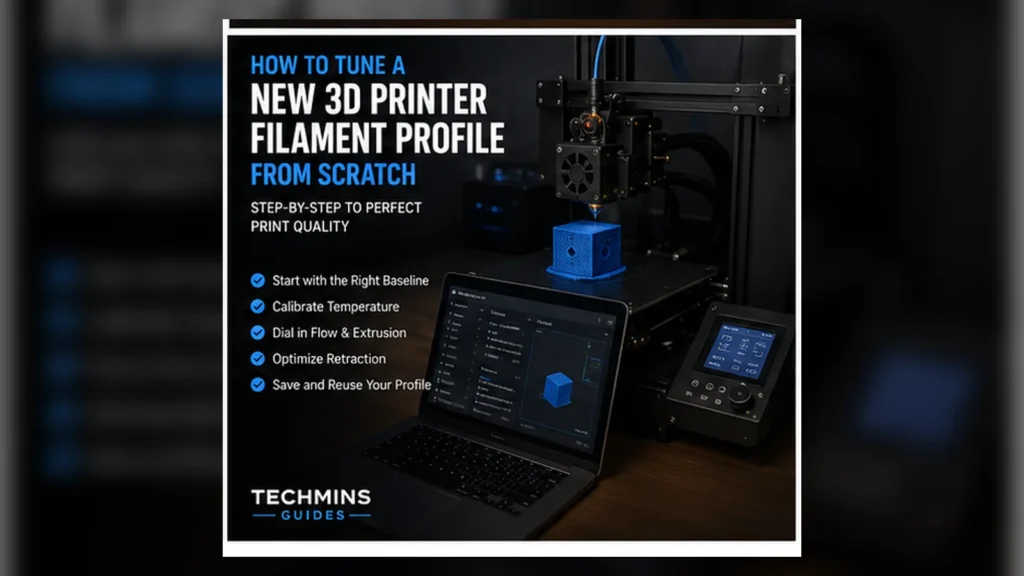
Quick answer: Tune a filament profile in an order that isolates variables. A practical sequence is material condition → temperature → basic flow/extrusion multiplier → pressure advance → cooling → retraction → maximum volumetric speed → real-part validation. Do not start with speed or retraction while temperature and flow are still wrong.
Why calibration order matters
Many slicer settings interact. Too-hot filament can look like a retraction problem. Over-extrusion can look like pressure-advance blobs. Wet filament can make temperature and stringing tests inconsistent. The right order reduces false conclusions.
1. Material condition
Use dry filament, especially for PETG, TPU and polyamides. If material condition changes during calibration, every later result becomes questionable.
2. Start with manufacturer temperature range
Run a temperature tower or controlled part. Evaluate layer bonding, surface, bridges and overhangs — not only appearance. Choose the lowest temperature that still gives the mechanical and flow behavior you need.
3. Calibrate extrusion multiplier / flow
Use your slicer’s flow calibration method. The goal is dimensional and surface consistency, not forcing top surfaces to look “full” with excessive material.
4. Calibrate pressure advance
Pressure advance compensates for elastic pressure in the extrusion path during acceleration/deceleration. Tune it after basic flow because incorrect flow changes how the test looks.
5. Set cooling by material behavior
PLA usually tolerates aggressive cooling; ASA/ABS generally need much less to preserve layer adhesion and avoid warping; PETG sits between. Engineering materials may need very specific cooling strategies.
6. Tune retraction last enough that it is meaningful
Once temperature and material condition are stable, tune retraction for stringing and travel. Do not use retraction to compensate for wet filament.
7. Calibrate maximum volumetric speed
Only after the extrusion system is stable should you determine how fast it can melt the material. OrcaSlicer provides a dedicated test for this.
8. Validate on a representative part
Calibration coupons isolate one behavior. Real parts combine seams, infill, overhangs, cooling changes and high-flow sections. Print something representative before declaring the profile finished.
Document the profile
- Filament brand and exact product
- Color
- Nozzle size/material
- Drying condition
- Nozzle and bed temperatures
- Flow multiplier
- Pressure advance
- Retraction
- Maximum volumetric speed
When a new color deserves a new profile
Pigments and additives can change flow and cooling behavior. For high-speed or precision printing, test the new color rather than assuming the previous spool’s maximum flow is identical.
Bottom line
A reliable profile is a controlled experiment, not a collection of internet values. Tune one subsystem at a time, keep the material condition stable and validate with real geometry.
Related: Maximum Volumetric Flow Guide.